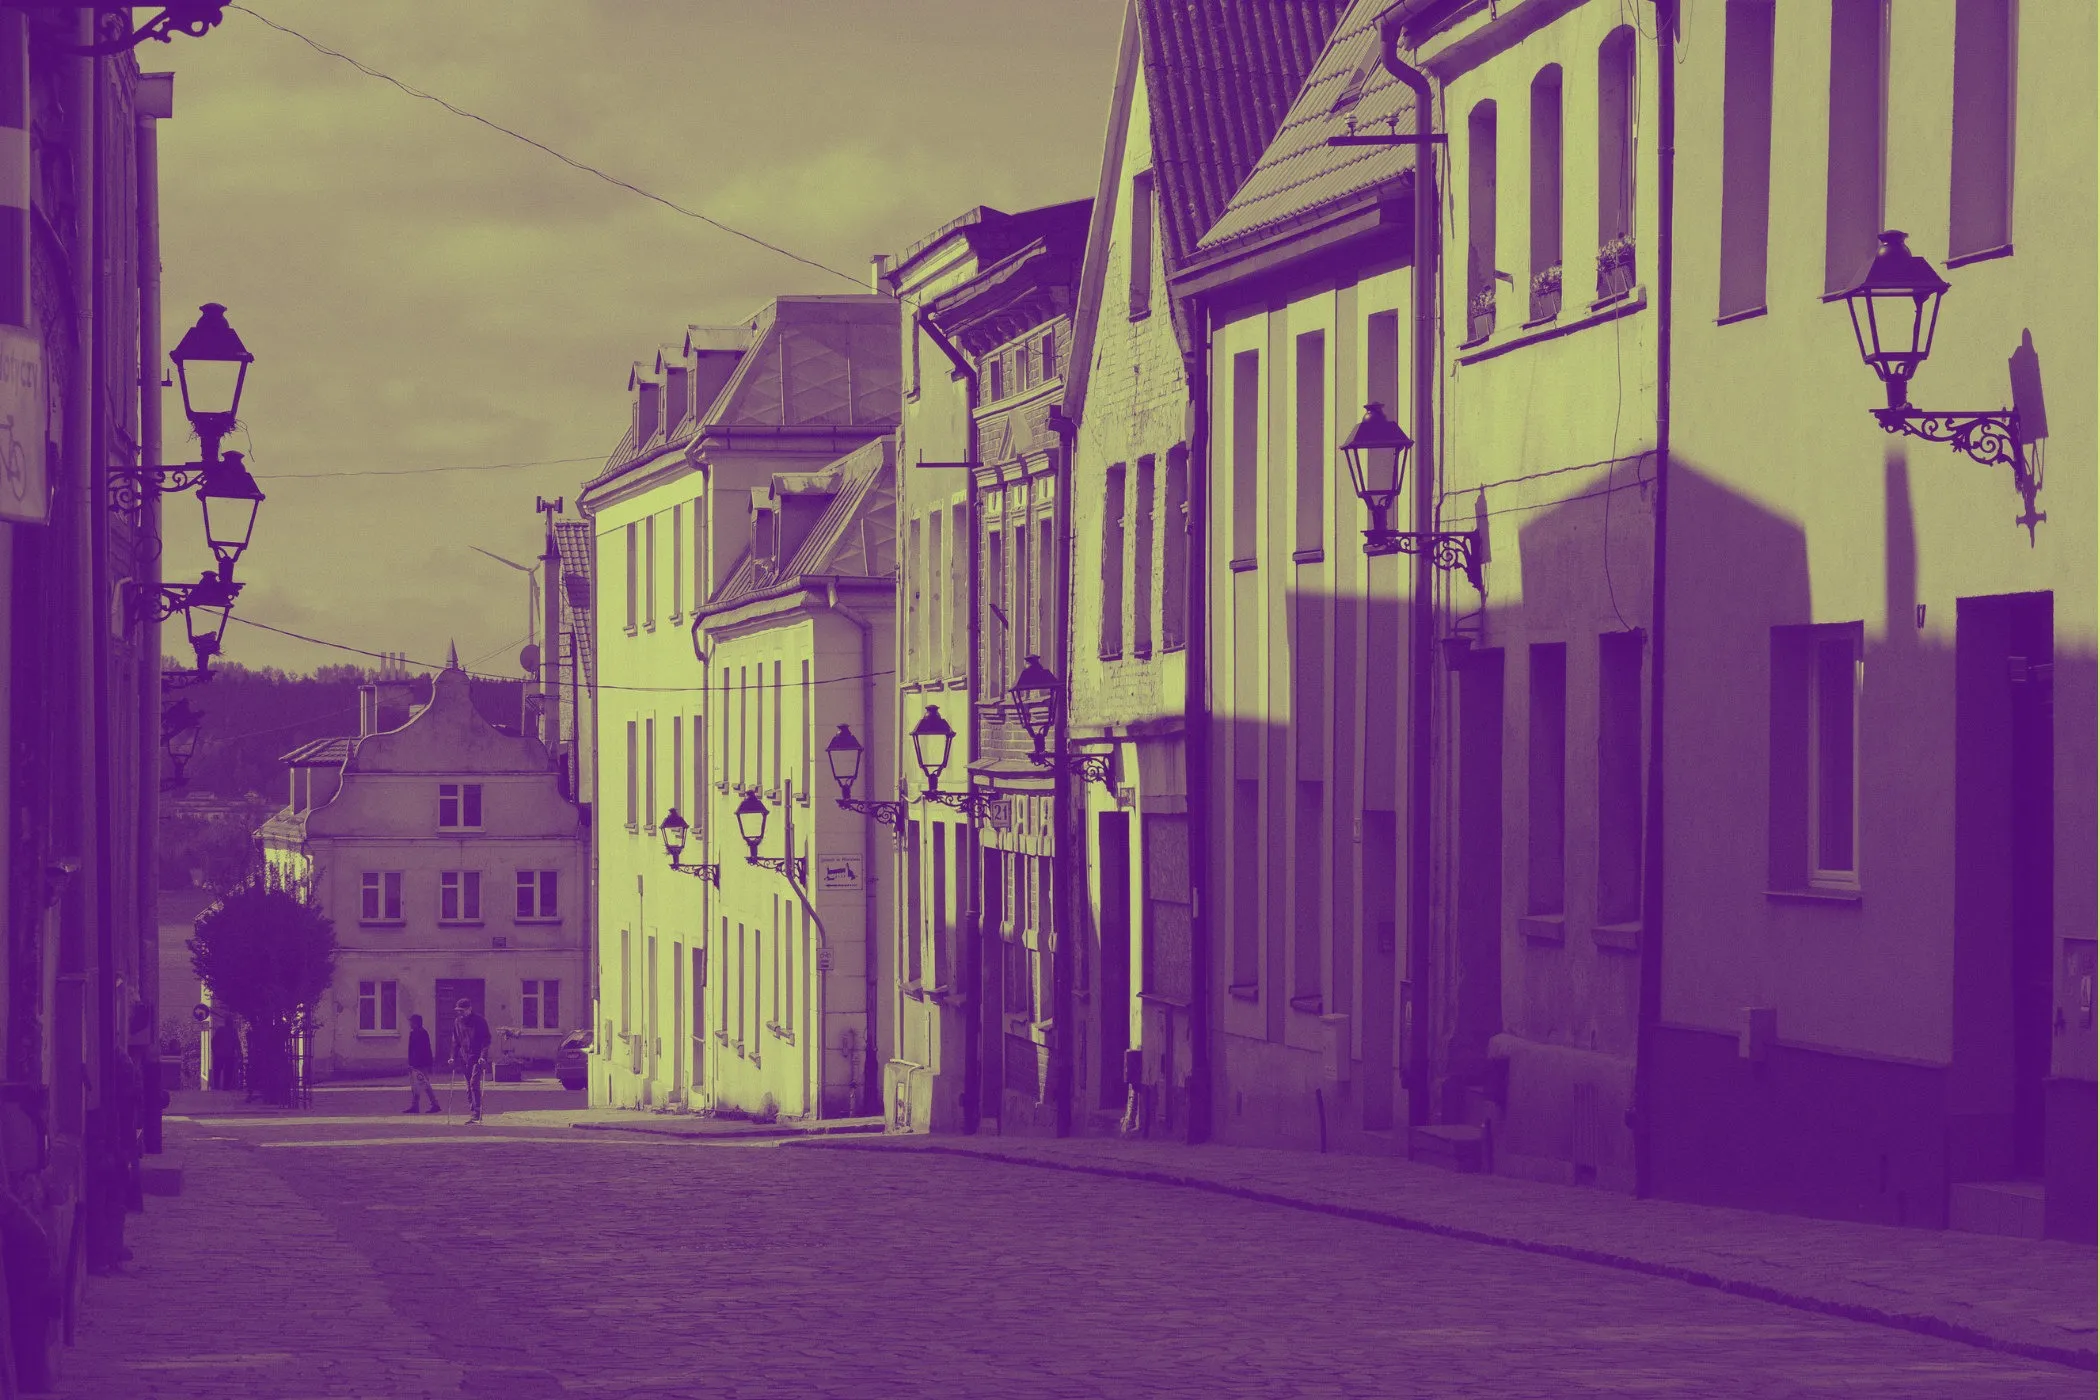
Blur in One Sentence
This tool lets you blur an image quickly and precisely — from a simple soft blur to directional motion blur or a focus/portrait-style blur — while keeping your image 100% private.
What You Can Do With This Blur Tool
Blur isn’t just one effect — it’s a set of useful “photo fixes” and design tricks:
- Classic blur for softening details or creating clean backgrounds
- Blur mix so you can keep some sharpness while adding a soft haze
- Motion blur for speed lines, action shots, dynamic banners, and stylized movement
- Focus blur to keep one point sharp while blurring the rest (great for portraits, product shots, or mock depth-of-field)
- Click-to-set focus point for fast control without fiddly coordinates
Everything runs locally in your browser with live preview.
Workflow & Usage
1. Add an image
Drag & drop, paste, or click to select a JPEG / PNG / WebP.
2. Choose your blur style
You can use any combination of the options below:
- Blur amount (how strong the blur is)
- Blur mix (how much blur is blended over the original)
- Motion blur (directional blur for movement)
- Focus blur (keep a point sharp, blur outside)
3. Preview live
The preview updates instantly as you adjust sliders. If focus blur is enabled, you can click the preview to set the sharp center.
4. Download
Export instantly. The output keeps the original format and a descriptive filename like:
photo-blur-gaussian-8px-100mix.png
If motion blur is enabled, filenames include a motion tag.
Understanding the Controls
Blur amount (px)
This is the “radius” of the blur. Higher values spread pixels further.
- 0–4 px: subtle softening (skin, noise, harsh edges)
- 5–12 px: strong blur (privacy, background separation)
- 12–40 px: heavy blur (abstract backgrounds, hiding details)
Blur mix (%)
Blur mix blends the blurred layer over the original.
- 0%: original image (no visible blur)
- 50%: half blur, half original (soft glow / haze)
- 100%: fully blurred
This is extremely useful when you want a gentle blur without losing all detail.
Motion Blur
Motion blur creates a blur that flows in a direction.
Angle (°)
Sets the direction of movement.
- 0° → left/right movement
- 90° → up/down movement
Distance (px)
Controls how “long” the motion streak is.
- Small distance → subtle movement
- Large distance → dramatic speed effect
Samples
Higher samples make the motion smoother and reduce harsh stepping.
- Low samples → faster, rougher streaks
- High samples → smoother streaks (slower to process)
Tip: If motion blur looks too intense, reduce distance or reduce mix.
Focus Blur (Keep Center Sharp)
Focus blur keeps a chosen point sharp and blurs the rest — like a quick depth-of-field effect.
Focus radius (% of image)
Controls the size of the sharp area.
- Small radius → very focused (dramatic)
- Larger radius → more of the image stays sharp
Feather (% softness)
Controls how smoothly sharp transitions into blur.
- Low feather → hard edge (graphic, noticeable)
- High feather → natural falloff (portrait-like)
Click to set focus point
Turn this on, then click the preview where you want the sharp center.
Practical uses:
- Keep a face sharp while blurring a messy background
- Keep a product sharp in a listing photo
- Create “attention” by blurring everything except the subject
What Is Blur, Technically?
Blur works by averaging nearby pixels to reduce detail.
- Soft blur makes edges less sharp and reduces fine detail
- Directional blur spreads pixels along a line, creating motion streaks
- Focus blur applies blur more strongly away from a chosen point, simulating depth
In design terms: blur reduces noise, guides attention, and creates clean layers.
Perfect For
- Privacy blur: hide faces, license plates, IDs, addresses, sensitive text
- Background blur: create clean banners, headers, and hero images
- Portrait-style focus: draw attention to a subject
- Motion effects: speed lines, action thumbnails, dynamic ads
- UI mockups: blurred overlays behind modals or glass effects
- Before/after visuals: soften clutter while keeping composition
Tips for Best Results
Use mix for a “soft haze” instead of over-blurring
If you blur too much, the image can look muddy. Try:
- Blur amount: 6–10 px
- Blur mix: 40–70%
For privacy, go stronger than you think
If you’re hiding text or faces, subtle blur might still be readable. For privacy:
- Increase blur amount
- Keep mix high
Motion blur: balance distance and samples
- If you see harsh streak steps, increase samples
- If it’s too slow, lower samples or distance
Focus blur: radius + feather should match the photo
- Portraits: medium radius + high feather feels natural
- Products: medium radius + medium feather keeps edges cleaner
Click-to-focus makes it fast
Enable focus blur and click once — it’s the quickest way to place attention.
Common Problems (Quick Fixes)
“It looks too cloudy / muddy.”
Reduce Blur amount or lower Blur mix (try 60–80%).
“Motion blur looks too strong.”
Lower distance or lower mix.
“Motion blur has harsh stepping.”
Increase samples.
“Focus blur edge is too visible.”
Increase feather.
“Too much is staying sharp.”
Lower radius.
“My subject isn’t sharp where I want it.”
Enable “Click preview to set focus point” and click the correct spot.