Workflow & Usage
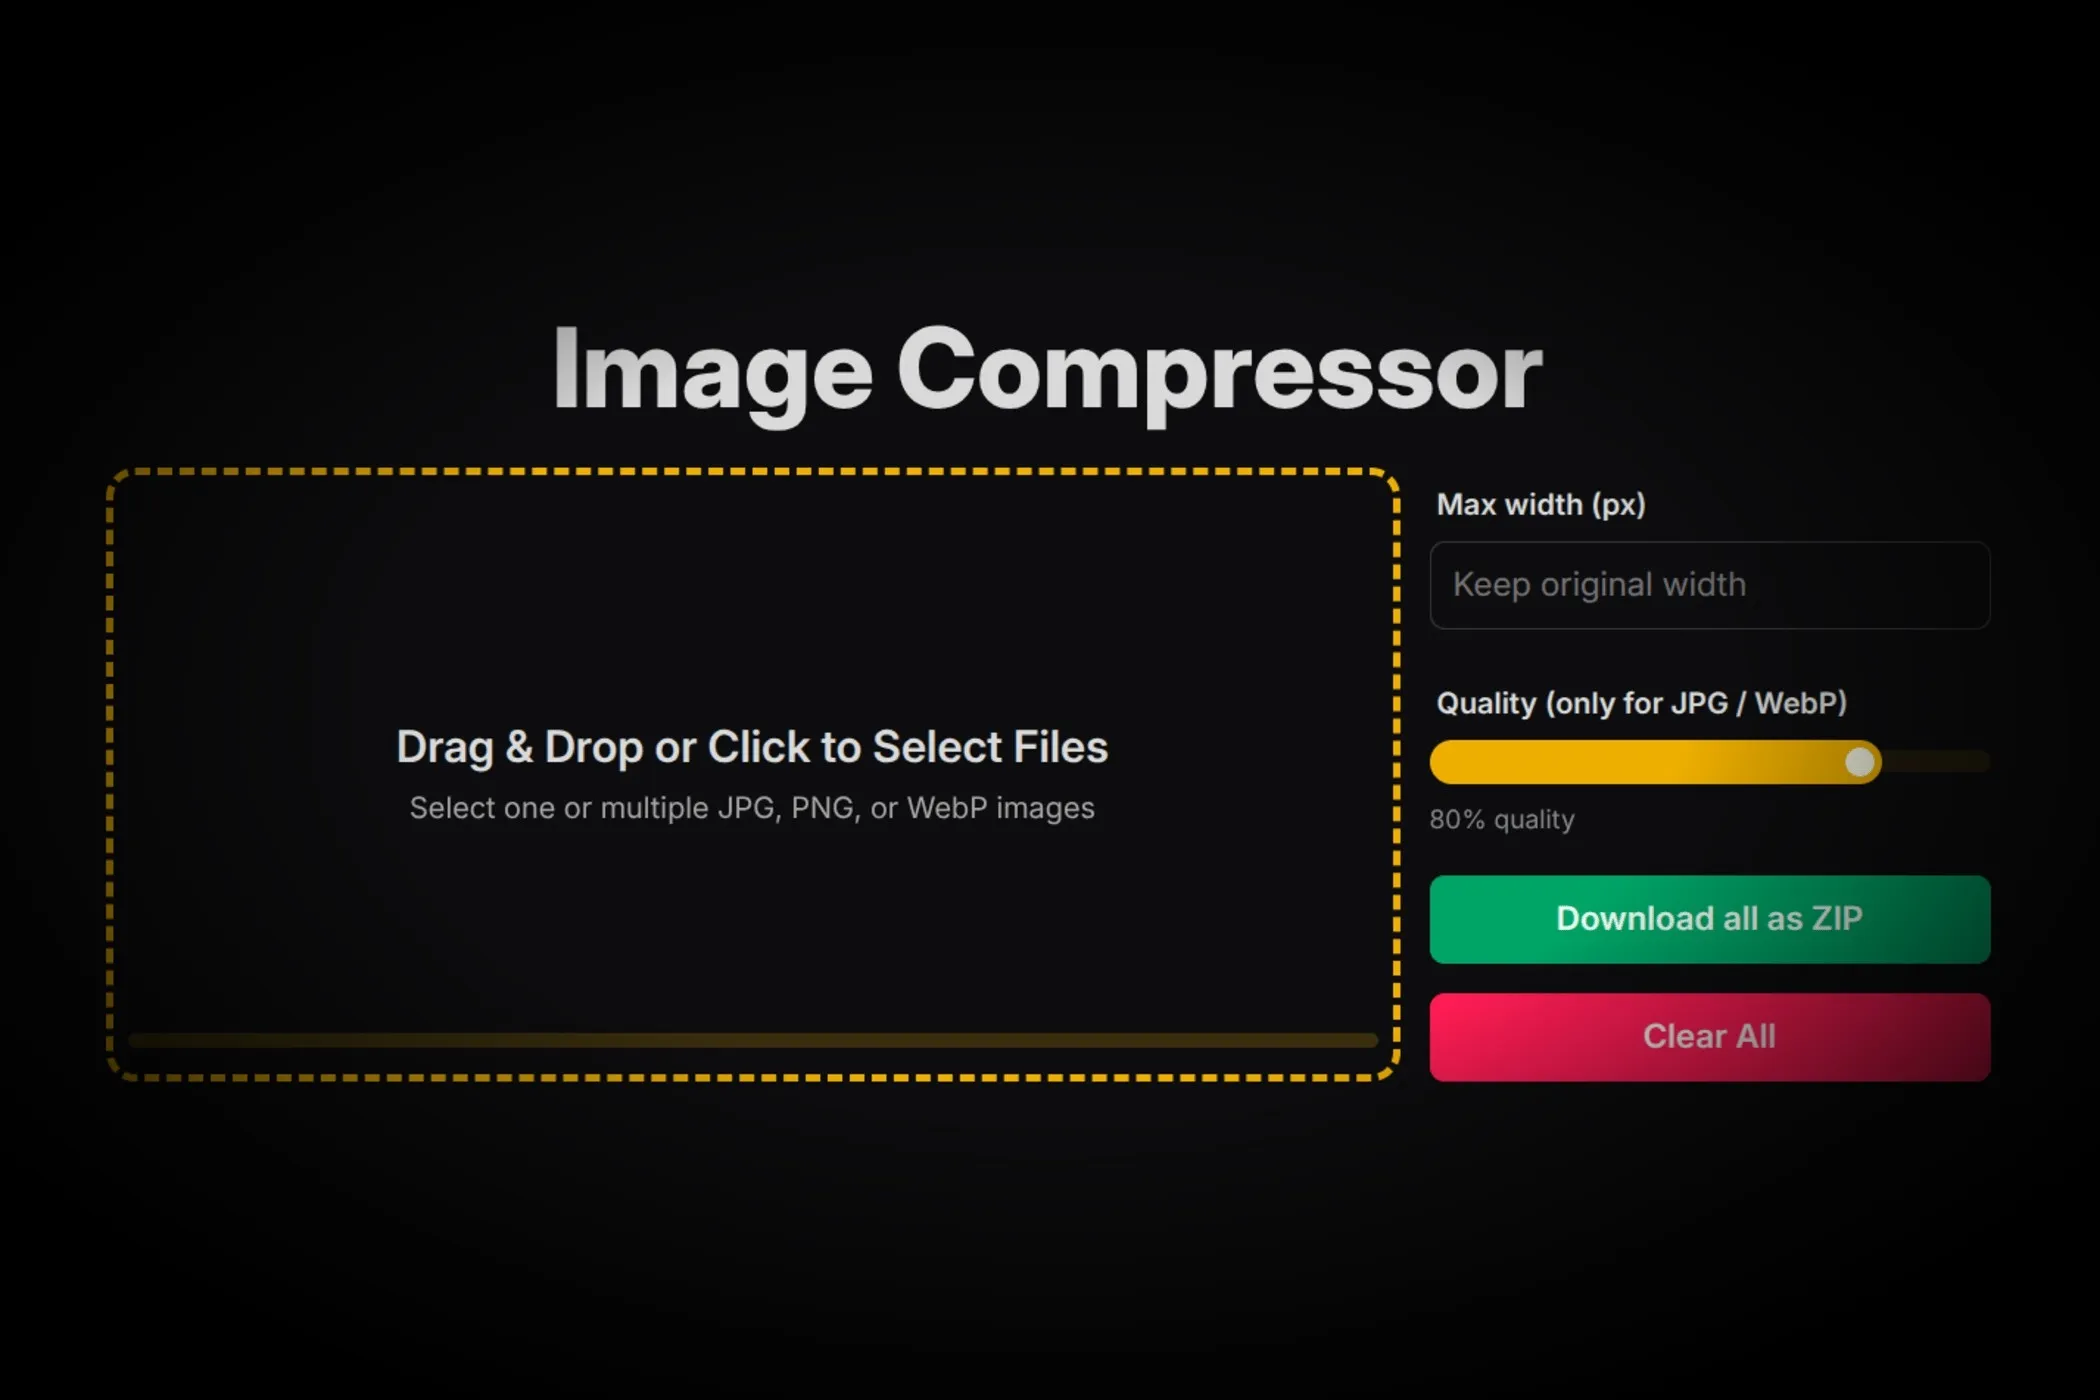
- Add images. Drag & drop files (JPG/PNG/WebP) or click to select multiple.
- Set options.
- Max width (px): Leave blank to keep original width. Enter a value (e.g. 1600) to resize proportionally.
- Quality: Move the slider to control JPG/WebP compression (PNG ignores quality).
- Compress. Click Compress on a card or Download all as ZIP to compress everything in one go.
- Save. Download individual files or a single ZIP archive for the batch.
You’ll see a per-image summary like 2.4 MB → 540 KB (77% saved). Spoiler: the savings are often bigger than you expect.
Use Cases
-
Website Optimization
Resize and compress hero images, blog graphics, or gallery photos before uploading to your CMS or static site. -
E-commerce Product Photos
Keep visual quality high while reducing load time on product pages. Use consistent width for all product images. -
Social Media Prep
Downsize large photos from your camera before posting or scheduling them - same quality, smaller footprint. -
Email Attachments
Compress visuals for newsletters or campaigns to stay under size limits and send faster. -
Client Deliverables
When sharing a batch of visuals, compress them all locally, zip them up, and send a professional, lightweight package. -
Portfolio Maintenance
Clean up large image folders from design or photography projects without losing visible quality.
Tips for Best Results
- Resize first, then compress. Most weight comes from excessive dimensions. Pick a sensible max width for your site (e.g., 1280–1920px for hero images, 800–1200px for content images).
- Aim for visual parity. Start around 75–85% JPG/WebP quality. Nudge down until you notice artifacts, then step back up.
- Prefer WebP for new assets. It usually yields smaller files than JPG at similar quality. Keep PNG for line art, logos, and transparency.
- Batch similar images together. Use the same settings for a consistent look and file size profile across a page.
- Check the savings. The tool shows a before/after size and percent reduction on each card - it’s a quick sanity check before publishing.
How It Works
The compressor uses modern browser capabilities to do the heavy lifting:
- Local processing only. Your files never leave your device.
- Immediate previews. See the original image and size savings right away.
- Worker pool for speed. A small pool of Web Workers + OffscreenCanvas processes multiple images in parallel.
- Smart resizing. Set a Max width (px) to scale images proportionally.
- Quality control. Adjust a JPG/WebP quality slider (PNG remains lossless - browsers ignore quality for PNG).
- Batch ZIP export. Compress many images, then download a single ZIP.
Under the hood, images are decoded with createImageBitmap, drawn to a canvas at the target size, and re-encoded to the chosen format. If workers aren’t available, the tool falls back to the main thread - still entirely client-side.