Image Cropper in One Sentence
An image cropper lets you remove unwanted outer areas, reframe the subject, and export a cleaner composition in the exact aspect ratio you need.
What Cropping Actually Does
Cropping is one of the most useful image edits because it changes composition without changing the subject itself.
Instead of applying a filter or resizing the whole image, cropping helps you:
- remove distractions near the edges
- improve framing and balance
- adapt one image to different platforms
- focus attention on the main subject
- create cleaner thumbnails, banners, and posts
A good crop can make the same source image feel more professional, more intentional, and more usable across web, social, and design work.
Why Cropping Matters More Than People Think
Many images are technically fine, but not framed for their final use.
For example:
- a landscape photo might need to become a 16:9 hero banner
- a portrait might need a 4:5 Instagram crop
- a product photo might work better as a 1:1 square
- a blog image might need a 3:2 or 4:3 editorial crop
- a mobile story graphic often needs a 9:16 vertical format
That is why cropping is not just about cutting away pixels. It is about preparing an image for where it will actually appear.
What This Tool Does
This tool helps you crop images directly in your browser using fixed aspect-ratio presets and visual repositioning controls.
You can:
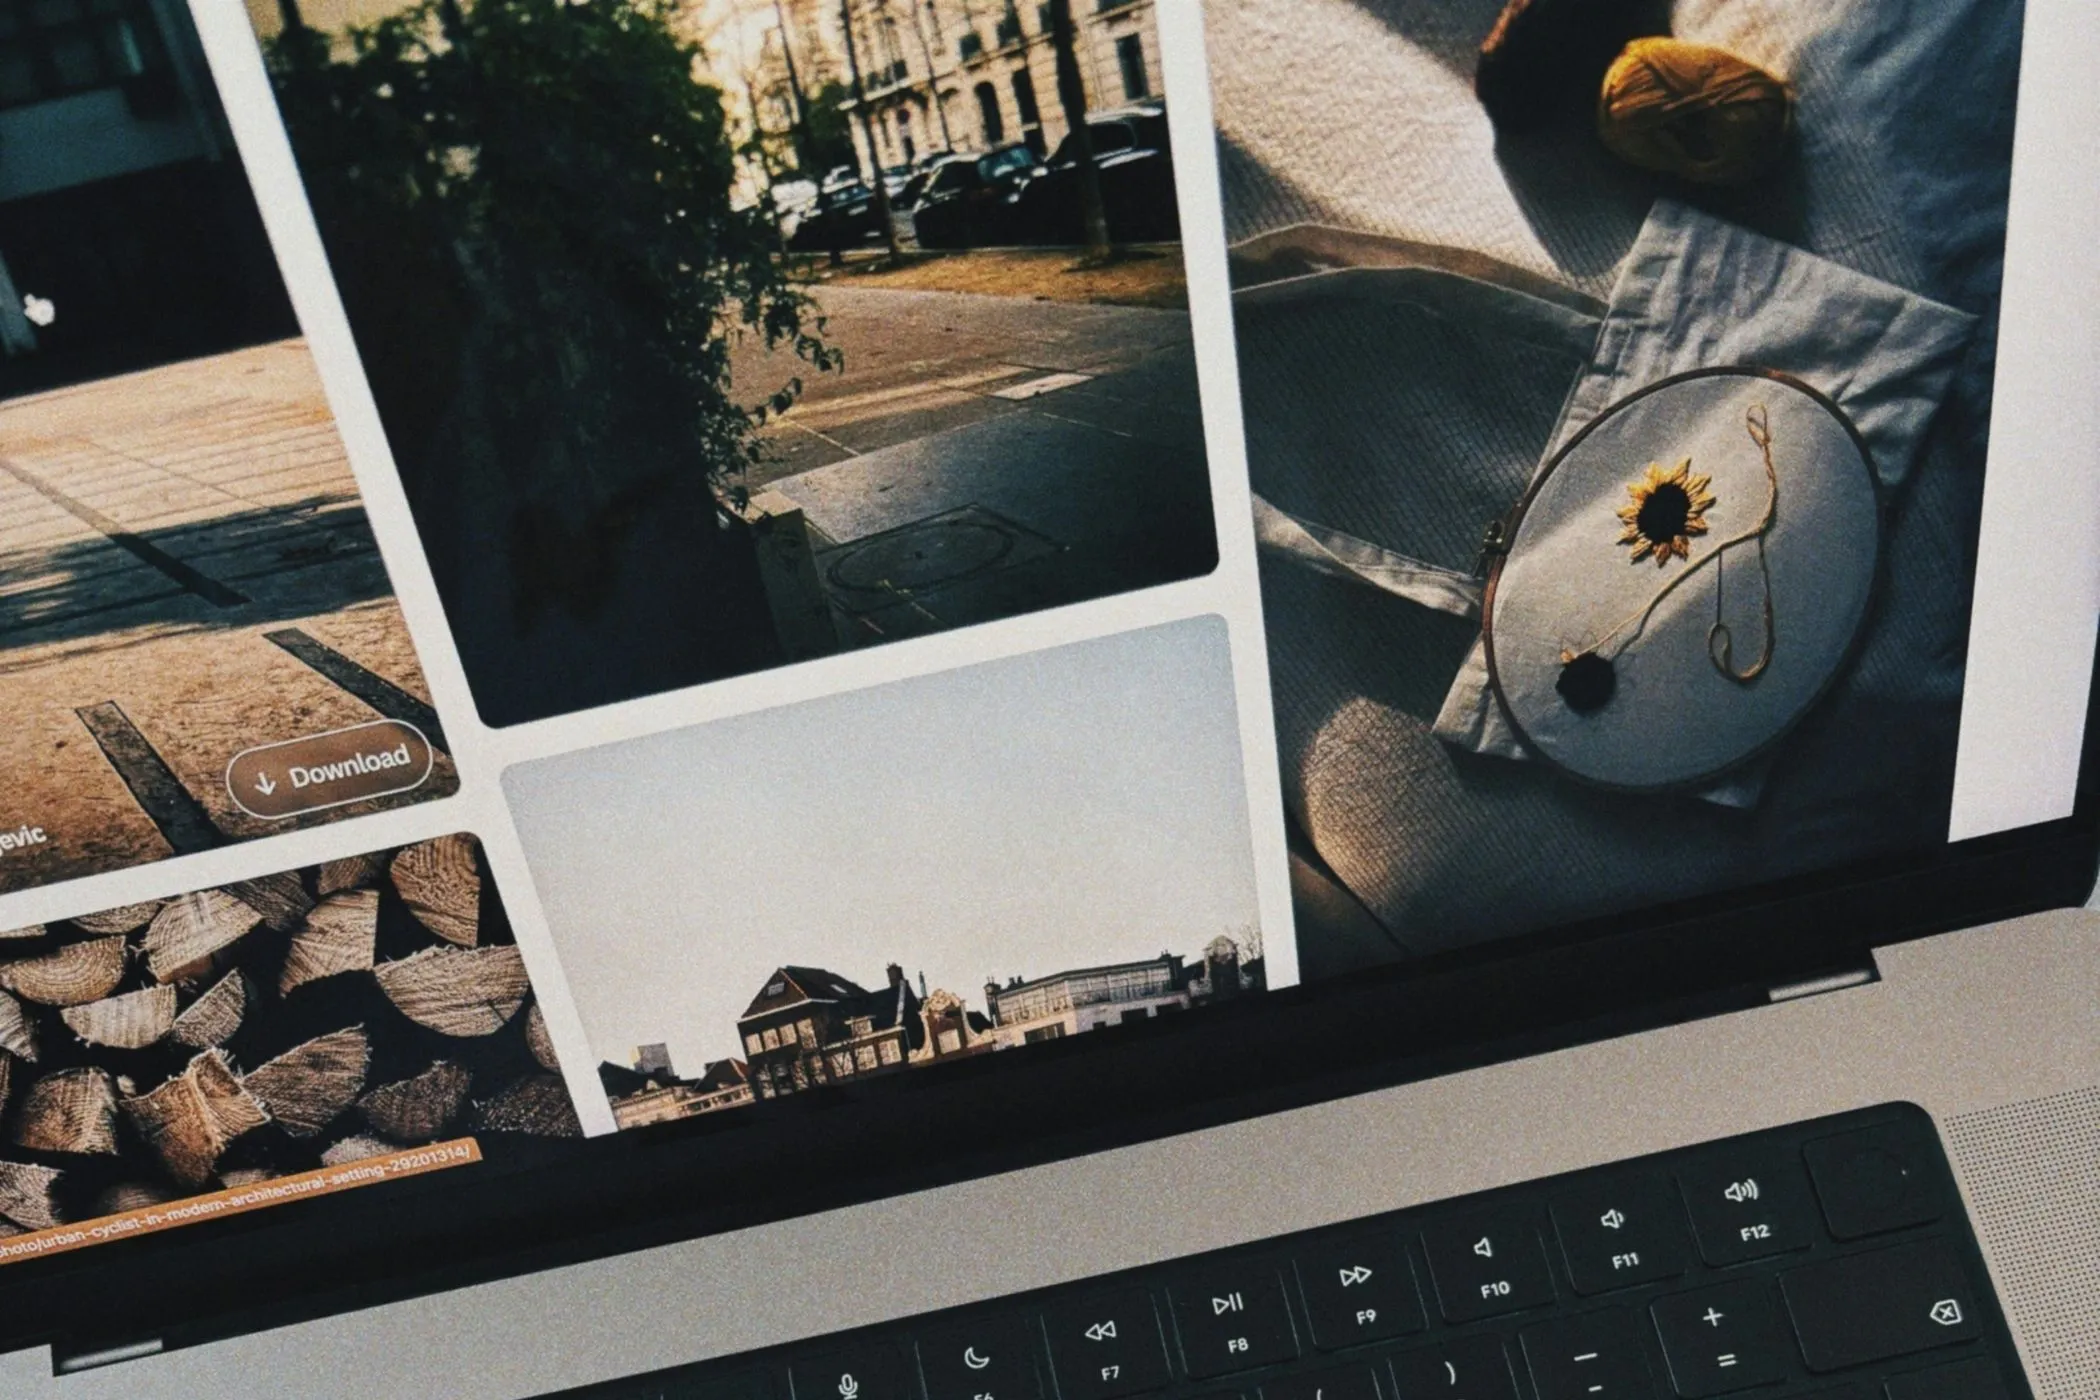
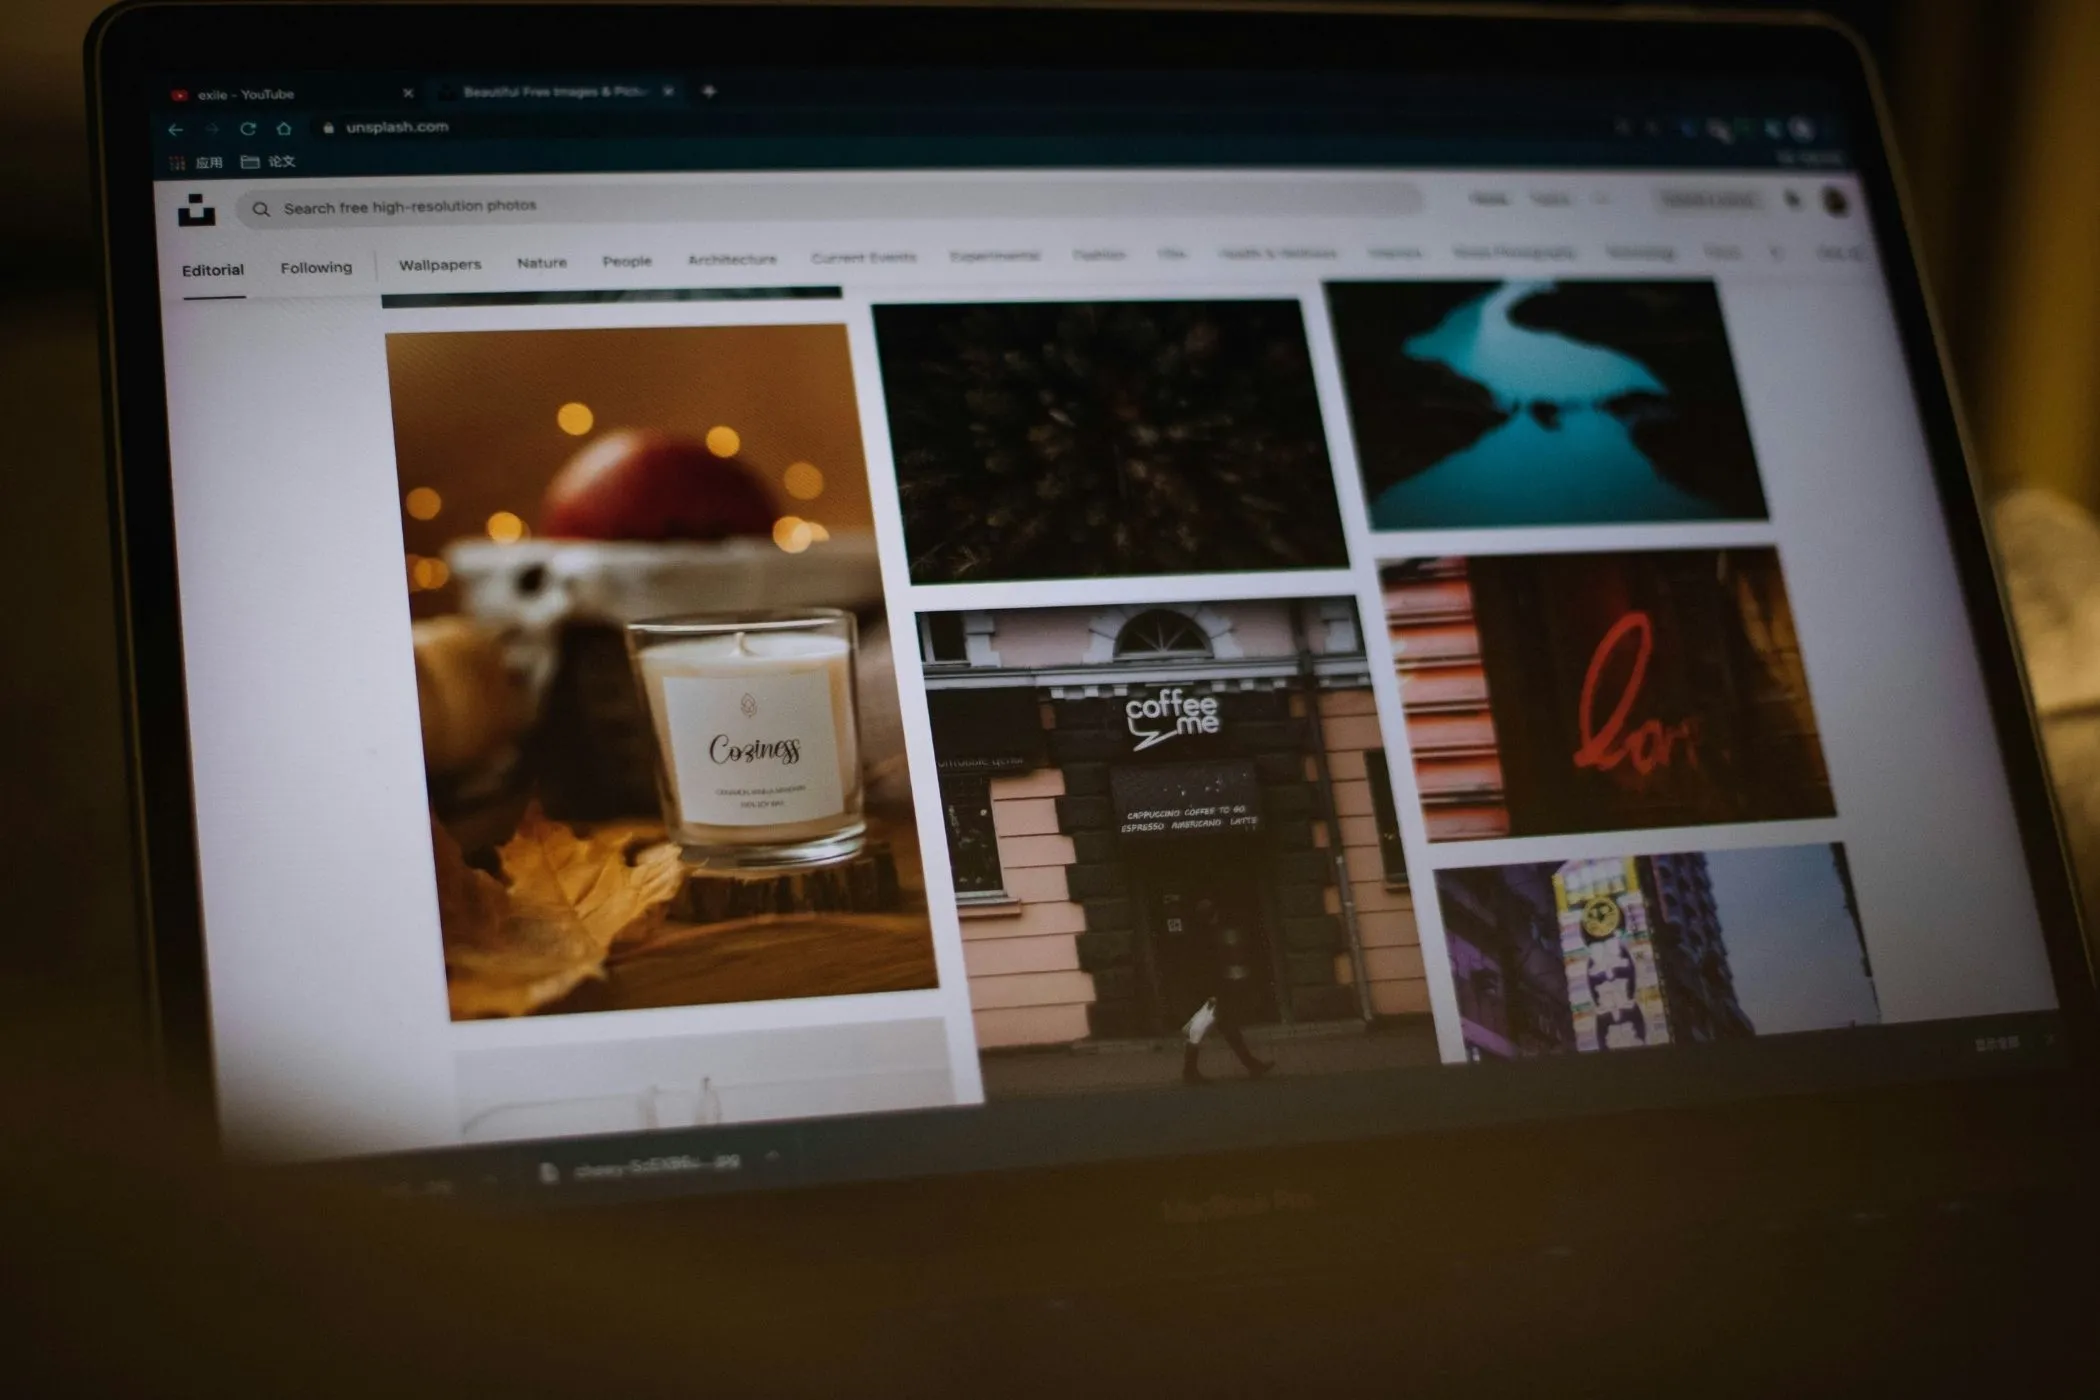
- drag & drop, click, or paste JPEG, PNG, and WebP images
- crop to popular preset ratios like 1:1, 16:9, 4:5, and 9:16
- open each image in an editor to pan and zoom the crop
- quickly center an image again if needed
- include or exclude individual files from export
- download one crop at a time or export all selected crops as a ZIP
- keep everything private and client-side
Everything runs locally on your device, so it is fast, simple, and privacy-friendly.
Workflow & Usage
1. Add your images
You can add files in three ways:
- Drag & drop them into the upload area
- Click to select files manually
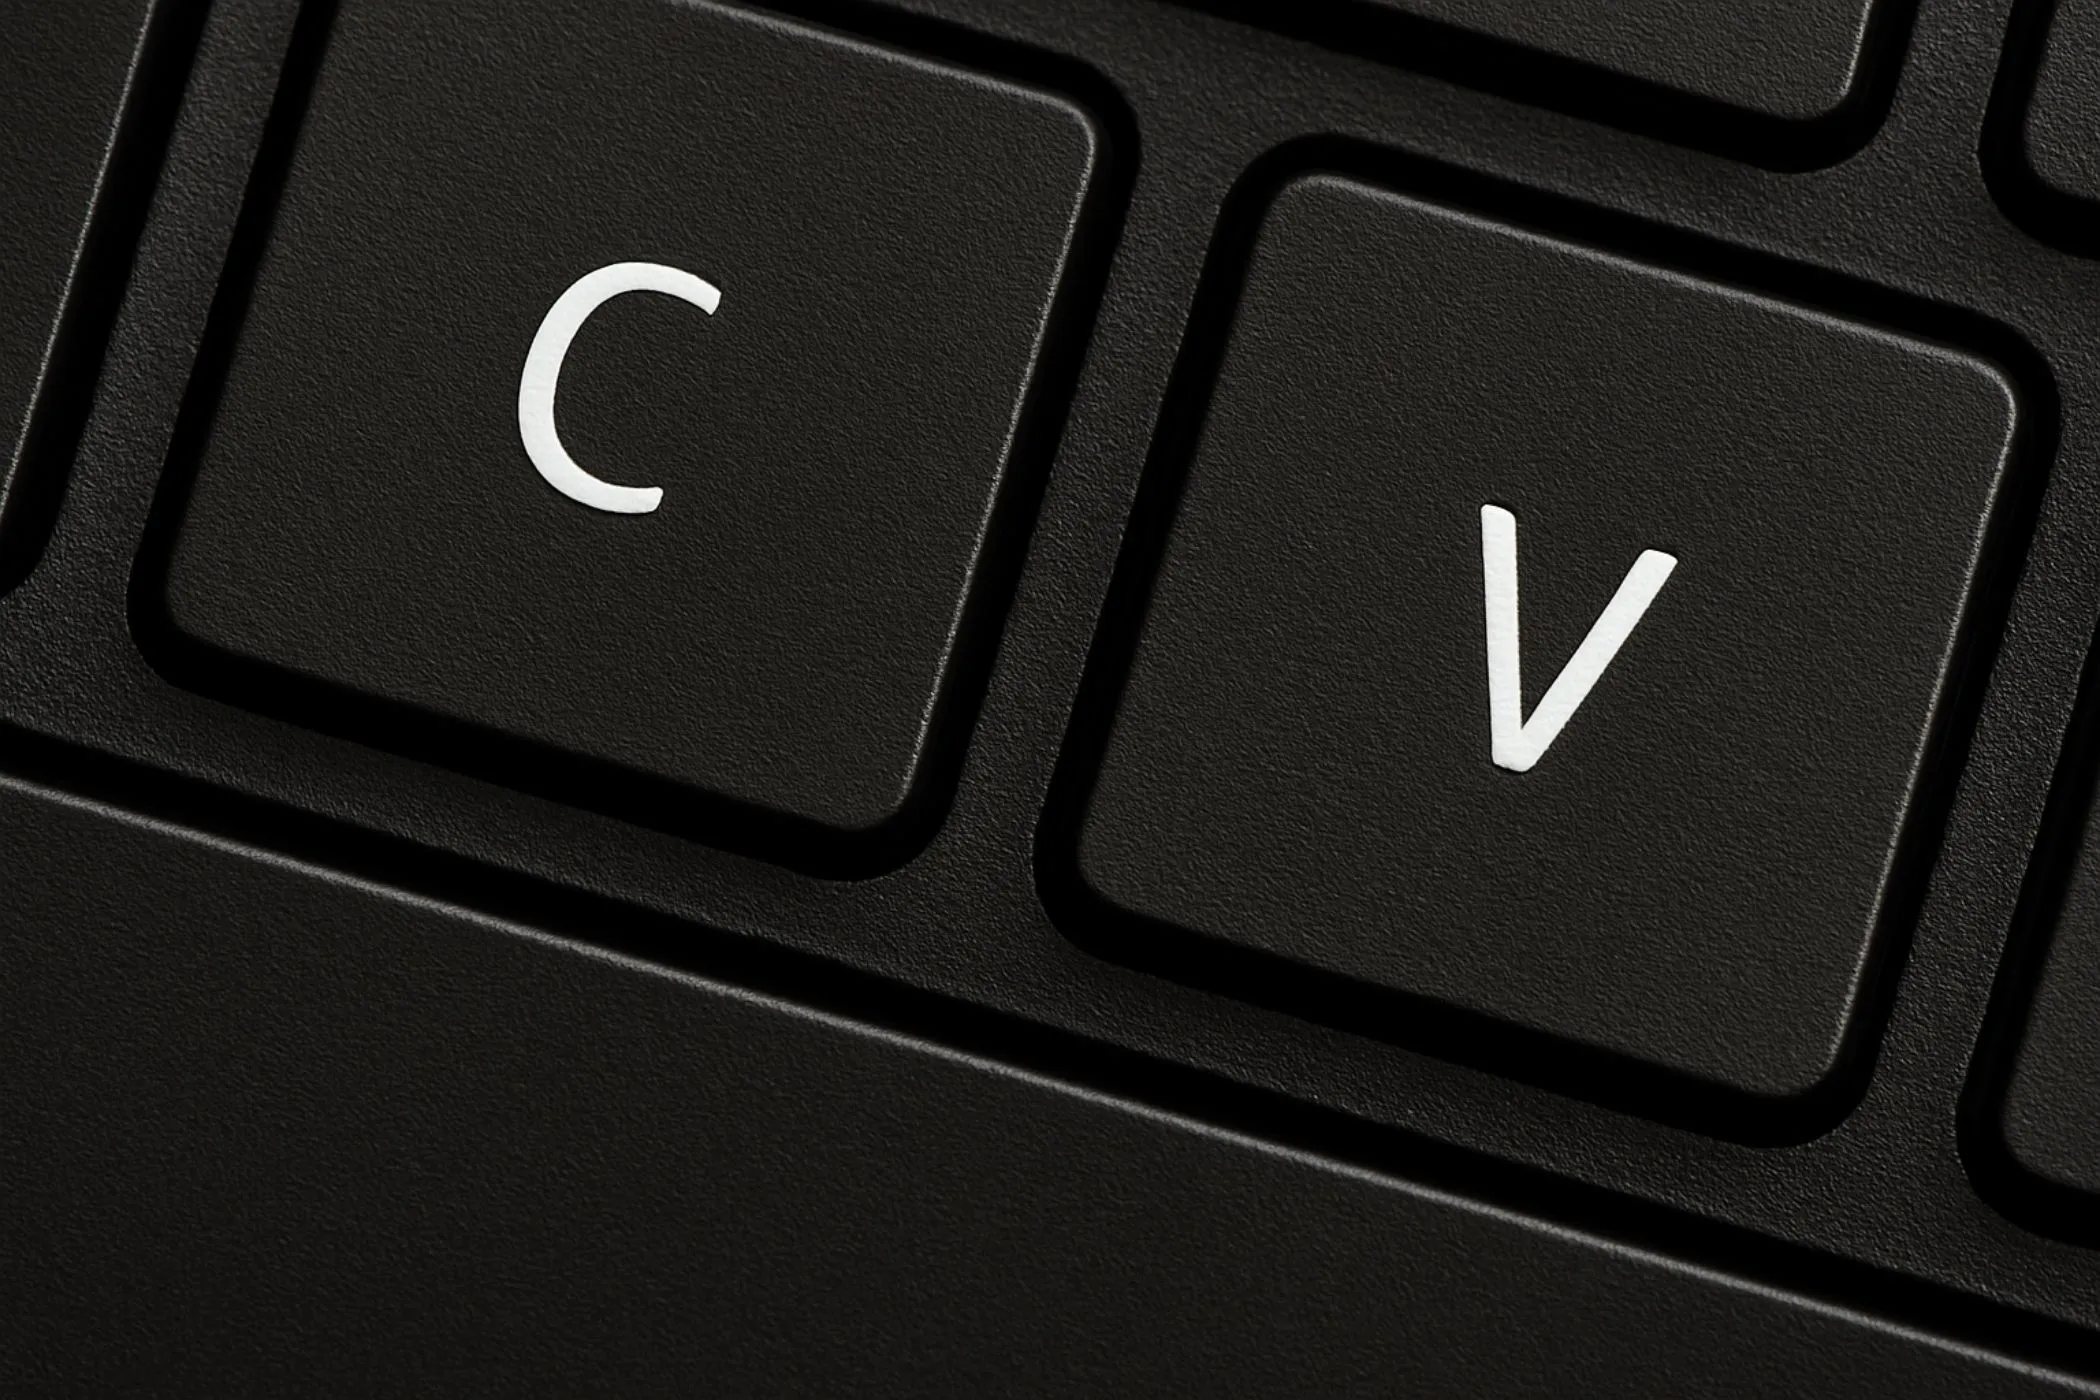
- Paste images from your clipboard with Ctrl/⌘ + V
Supported formats:
- JPEG
- PNG
- WebP
If you are working through many images quickly, paste support is especially useful for screenshots and copied assets.
2. Choose the aspect ratio
Select the crop ratio from the preset list.
Available presets include:
- 1:1
- 3:2
- 4:3
- 16:9
- 9:16
- 4:5
- 2:3
- 3:1
- 21:9
This determines the final shape of every exported crop.
3. Preview each crop
Each uploaded file appears as its own card with a live crop preview.
You can immediately:
- see how the current ratio frames the image
- check the original dimensions and format
- decide whether that image should be included in the batch
4. Reposition the crop
Use the available controls depending on how precise you want to be:
- Center resets the image to a centered crop
- Edit opens the crop editor so you can pan and zoom manually
Inside the editor, you can:
- drag the image to reposition the subject
- zoom in for a tighter crop
- use the rule-of-thirds grid as a framing guide
- save the final crop position
5. Export
You can either:
- Download a single cropped image from its card
- Download all as ZIP to export every included image together
This makes the tool useful for both one-off edits and repeatable batch workflows.
Understanding the Controls
Aspect Ratio
Aspect ratio defines the shape of the crop.
A ratio like 1:1 creates a square. A ratio like 16:9 creates a wide rectangle. A ratio like 9:16 creates a tall vertical frame.
The ratio does not stretch your image. It only changes which portion of the image is kept.
Center
Center resets the crop to a neutral starting point.
This is useful when:
- you moved the crop too far
- you zoomed in too much and want to start over
- the subject is already near the middle and only needs a quick clean crop
Edit
Edit opens the full crop modal so you can fine-tune the framing.
This is where you make deliberate composition choices such as:
- placing a face higher in the frame
- keeping more space on one side for text overlays
- tightening the crop around a product
- shifting the image to fit a vertical or cinematic ratio better
Zoom
Zoom changes how tightly the crop frames the image.
- lower zoom keeps more of the original scene
- higher zoom creates a tighter, more focused crop
Use zoom when the subject feels too small or when you want a more dramatic composition.
Include
The Include checkbox decides whether a file is part of the batch ZIP export.
This is useful when:
- some images are finished and others are not
- you want to skip bad shots without removing them
- you are comparing alternatives before exporting a final set
Clear All
Clear All removes all loaded files and resets the tool.
That is the fastest way to start a completely new batch.
Best Aspect Ratios for Common Use Cases
1:1 — Square
Best for:
- profile images
- product thumbnails
- marketplaces
- square social posts
Why it works:
It is balanced, simple, and easy to reuse across many layouts.
4:5 — Portrait Social Post
Best for:
- Instagram feed posts
- Pinterest-style vertical graphics
- portrait-focused content
Why it works:
It gives more vertical space than square while still feeling natural in social feeds.
9:16 — Full Vertical
Best for:
- Stories
- Reels covers
- Shorts graphics
- mobile-first content
Why it works:
It matches phone screens and creates a strong vertical focus.
16:9 — Widescreen
Best for:
- YouTube thumbnails
- blog hero images
- presentations
- video covers
Why it works:
It is the most common wide digital format and works especially well for banners and media previews.
3:2 and 4:3 — Editorial / Photography
Best for:
- blog images
- photography crops
- content marketing visuals
- balanced horizontal layouts
Why they work:
These ratios often feel more natural and less aggressive than ultra-wide crops.
21:9 and 3:1 — Cinematic / Banner
Best for:
- ultra-wide headers
- website hero sections
- cover graphics
- cinematic compositions
Why they work:
They create a dramatic panoramic look, but they require careful framing because vertical space becomes limited.
Best Images for Cropping
This tool works well on almost any image, but cropping is especially effective when the source image has:
- a clear subject
- extra space around the edges
- distracting background elements that can be removed
- enough resolution for tighter framing
Strong candidates include:
Portraits
Perfect for creating social-media-friendly framing, profile crops, and tighter compositions around the face or upper body.
Product photos
Useful for marketplace listings, square thumbnails, catalog cards, and cleaner focus on the product itself.
Travel and landscape photos
Helpful when turning one source image into wide banners, editorial crops, or vertical story compositions.
Blog and thumbnail visuals
Great when you need to leave room for text overlays, title treatments, or consistent featured-image dimensions.
Practical Cropping Tips
Start with the final destination
Before cropping, decide where the image is going:
- social feed
- website hero
- product card
- story format
- thumbnail
The right crop depends on the final placement, not just what looks good in isolation.
Use the rule of thirds
The built-in grid helps you place the subject more naturally.
A common approach is to align:
- eyes near the upper third line in portraits
- horizons near the top or bottom third
- products slightly off-center for a more dynamic layout
Leave space for text when needed
If the image will become a thumbnail or banner, do not always center the subject perfectly.
Sometimes the best crop leaves empty space on one side for:
- headlines
- buttons
- labels
- branding
Do not over-zoom unless the image can handle it
A tighter crop can improve focus, but if the original image is small, aggressive zooming may leave you with less flexibility or a weaker final composition.
Compare center vs manual edit
Centering is fast, but manual editing usually creates the better crop when:
- the subject is off-center
- the image has important edges
- the ratio is extreme, like 9:16 or 21:9
Batch Workflows This Tool Is Great For
This cropper is especially useful when you need to process multiple images consistently.
Examples:
Social media asset prep
Load a group of photos, set one ratio like 4:5 or 1:1, fine-tune each, and export them all together.
Blog featured images
Prepare multiple article visuals in the same editorial ratio so your site looks more consistent.
Product image cleanup
Crop a batch of product shots to square or portrait format for cleaner storefront listings.
Thumbnail production
Build a set of 16:9 crops for videos, tutorials, or tool pages without opening a heavier editor.
Common Problems (Quick Fixes)
“The crop feels too tight.” Lower the zoom or reposition the subject so more surrounding space stays in frame.
“My subject is getting cut off.” Open Edit and drag the image until the important parts sit safely inside the crop.
“The centered crop is not the best composition.” Use the manual editor. Center is only a quick reset, not always the ideal framing.
“I only want some files in the ZIP.” Uncheck Include on the images you want to skip.
“I need one image now, not the whole batch.” Use the per-card Download button instead of the ZIP export.
“I need a crop for Instagram, YouTube, and Stories from the same source.” Export one ratio first, then switch presets and create another version from the same image.
How It Works
Everything happens entirely in the browser.
- Your image is loaded locally.
- The tool reads the original dimensions.
- A crop rectangle is calculated based on the selected aspect ratio, crop position, and zoom level.
- The cropped area is drawn onto a canvas at the correct output size.
- The final crop is exported in the original image format.
- If multiple files are selected, the results can be bundled into a ZIP for easier download.
Because processing is client-side, the workflow is:
- private
- fast
- simple to repeat
- useful even for offline or low-friction editing tasks
Why This Tool Is Useful
Many image editors can crop, but they are often heavier than necessary when all you need is fast, precise framing.
This tool is useful because it focuses on the real job:
- fixed-ratio cropping
- clean repositioning
- fast batch handling
- no upload step
- no account required
- no unnecessary complexity
That makes it practical for creators, bloggers, marketers, developers, and anyone who needs properly framed images without opening a full design app.
Perfect For
- Social media creators preparing square, portrait, or story-ready images
- Bloggers and publishers standardizing featured-image ratios
- Designers testing compositions quickly
- Developers and indie makers preparing UI thumbnails and marketing assets
- Ecommerce sellers cleaning up product framing
- Anyone who wants private, browser-based image cropping
Final Tip
If you want a crop that looks better immediately, do this in order:
- choose the final aspect ratio
- hit Center for a clean starting point
- open Edit
- adjust position first, then zoom
- use the grid to place the subject more intentionally
That simple workflow usually produces a noticeably stronger result than a default center crop.
If you need one dependable starting point for everyday content:
Use 4:5 for social posts, 16:9 for thumbnails, and 1:1 for product or profile images — then adjust the framing so the main subject sits slightly above center rather than perfectly in the middle.