Workflow & Usage
-
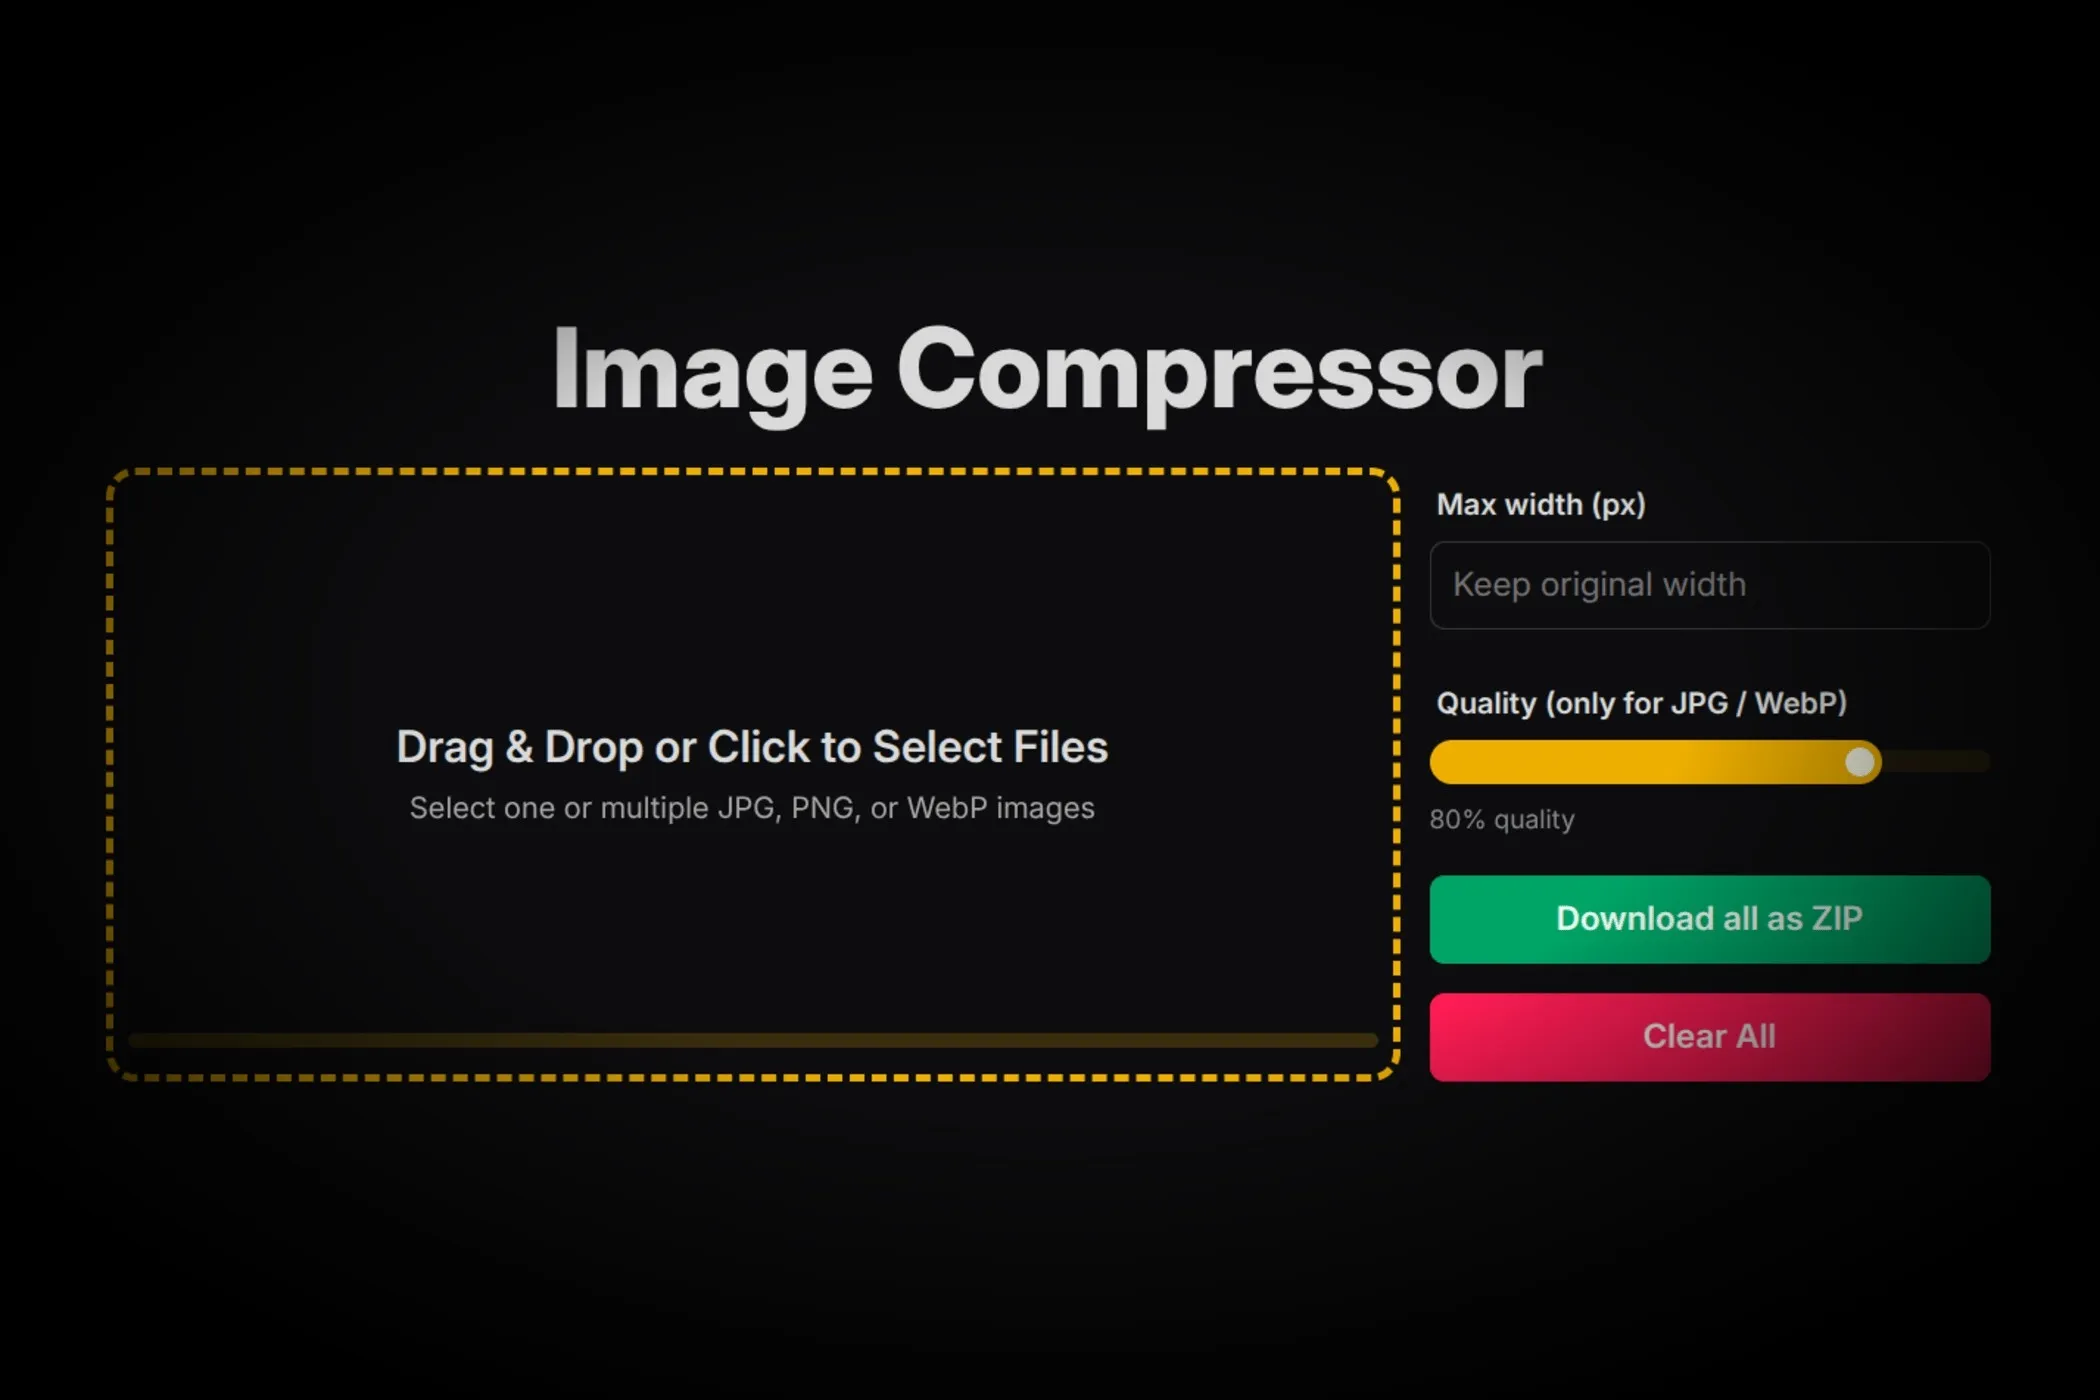
Add images: Drag & drop or click to select one or more JPG, PNG, or WebP files. You’ll see quick previews and a progress bar when processing.
-
Choose a resize mode:
- Fixed widths: enter widths like
1600,1200,800. - Scale (%): enter percentages like
200,100,50. - Fit inside (W×H): set a max width and height; images are scaled to fit while keeping aspect ratio.
- Fixed widths: enter widths like
-
(Optional) Background color for JPEG: If your source has transparency and you’re exporting JPEG, pick a solid background to blend transparent areas cleanly.
-
Run & review: Click Resize per image (or Download all as ZIP to run everything). Each image shows its generated outputs with filenames like
photo-1600x1200.jpg. -
Download:
- Per output: click Download next to any file.
- Everything at once: click Download all as ZIP to get neatly organized folders per source image.
Use Cases
-
Responsive images for the web Generate
2000/1600/1200/800/400widths for<img srcset>in seconds. -
Thumbnails & previews Create consistent small sizes for galleries, blogs, or CMS cards.
-
Newsletters & socials Fit images into layout boxes without guessing.
-
Batch prep for e-commerce Produce uniform product image dimensions before uploading.
-
Metadata cleanup Canvas re-rendering removes camera metadata for lighter, privacy-friendly files.
Tips for Best Results
- Pick practical breakpoints. For most sites, 1600, 1200, 800, 400 px cover common viewports.
- Don’t overscale. Avoid upscaling tiny originals; it won’t add detail and wastes bytes.
- Combine with compression. After resizing, run images through the Image Compressor or Progressive JPEG Converter to cut file size further.
- Name hygiene. Outputs include dimensions in the filename (e.g.,
hero-1200x800.jpg) — great for organizing and caching.
How It Works
This tool is built for speed and privacy, using modern browser tech:
- Web Workers (with a small pool). handle images in parallel so the UI stays snappy while batches process.
createImageBitmap+OffscreenCanvasperform fast, high-quality resampling withimageSmoothingQuality: 'high'.- Geometry-only resizing means no quality parameter — it simply renders at your requested dimensions and preserves the input format.
- Smart targets deduplicate identical sizes to avoid redundant work.
- ZIP packaging via
JSZipbundles all outputs into a tidy download — no uploads, no servers, fully client-side.