Add realistic texture — paper, canvas, linen, noise (private, in-browser)
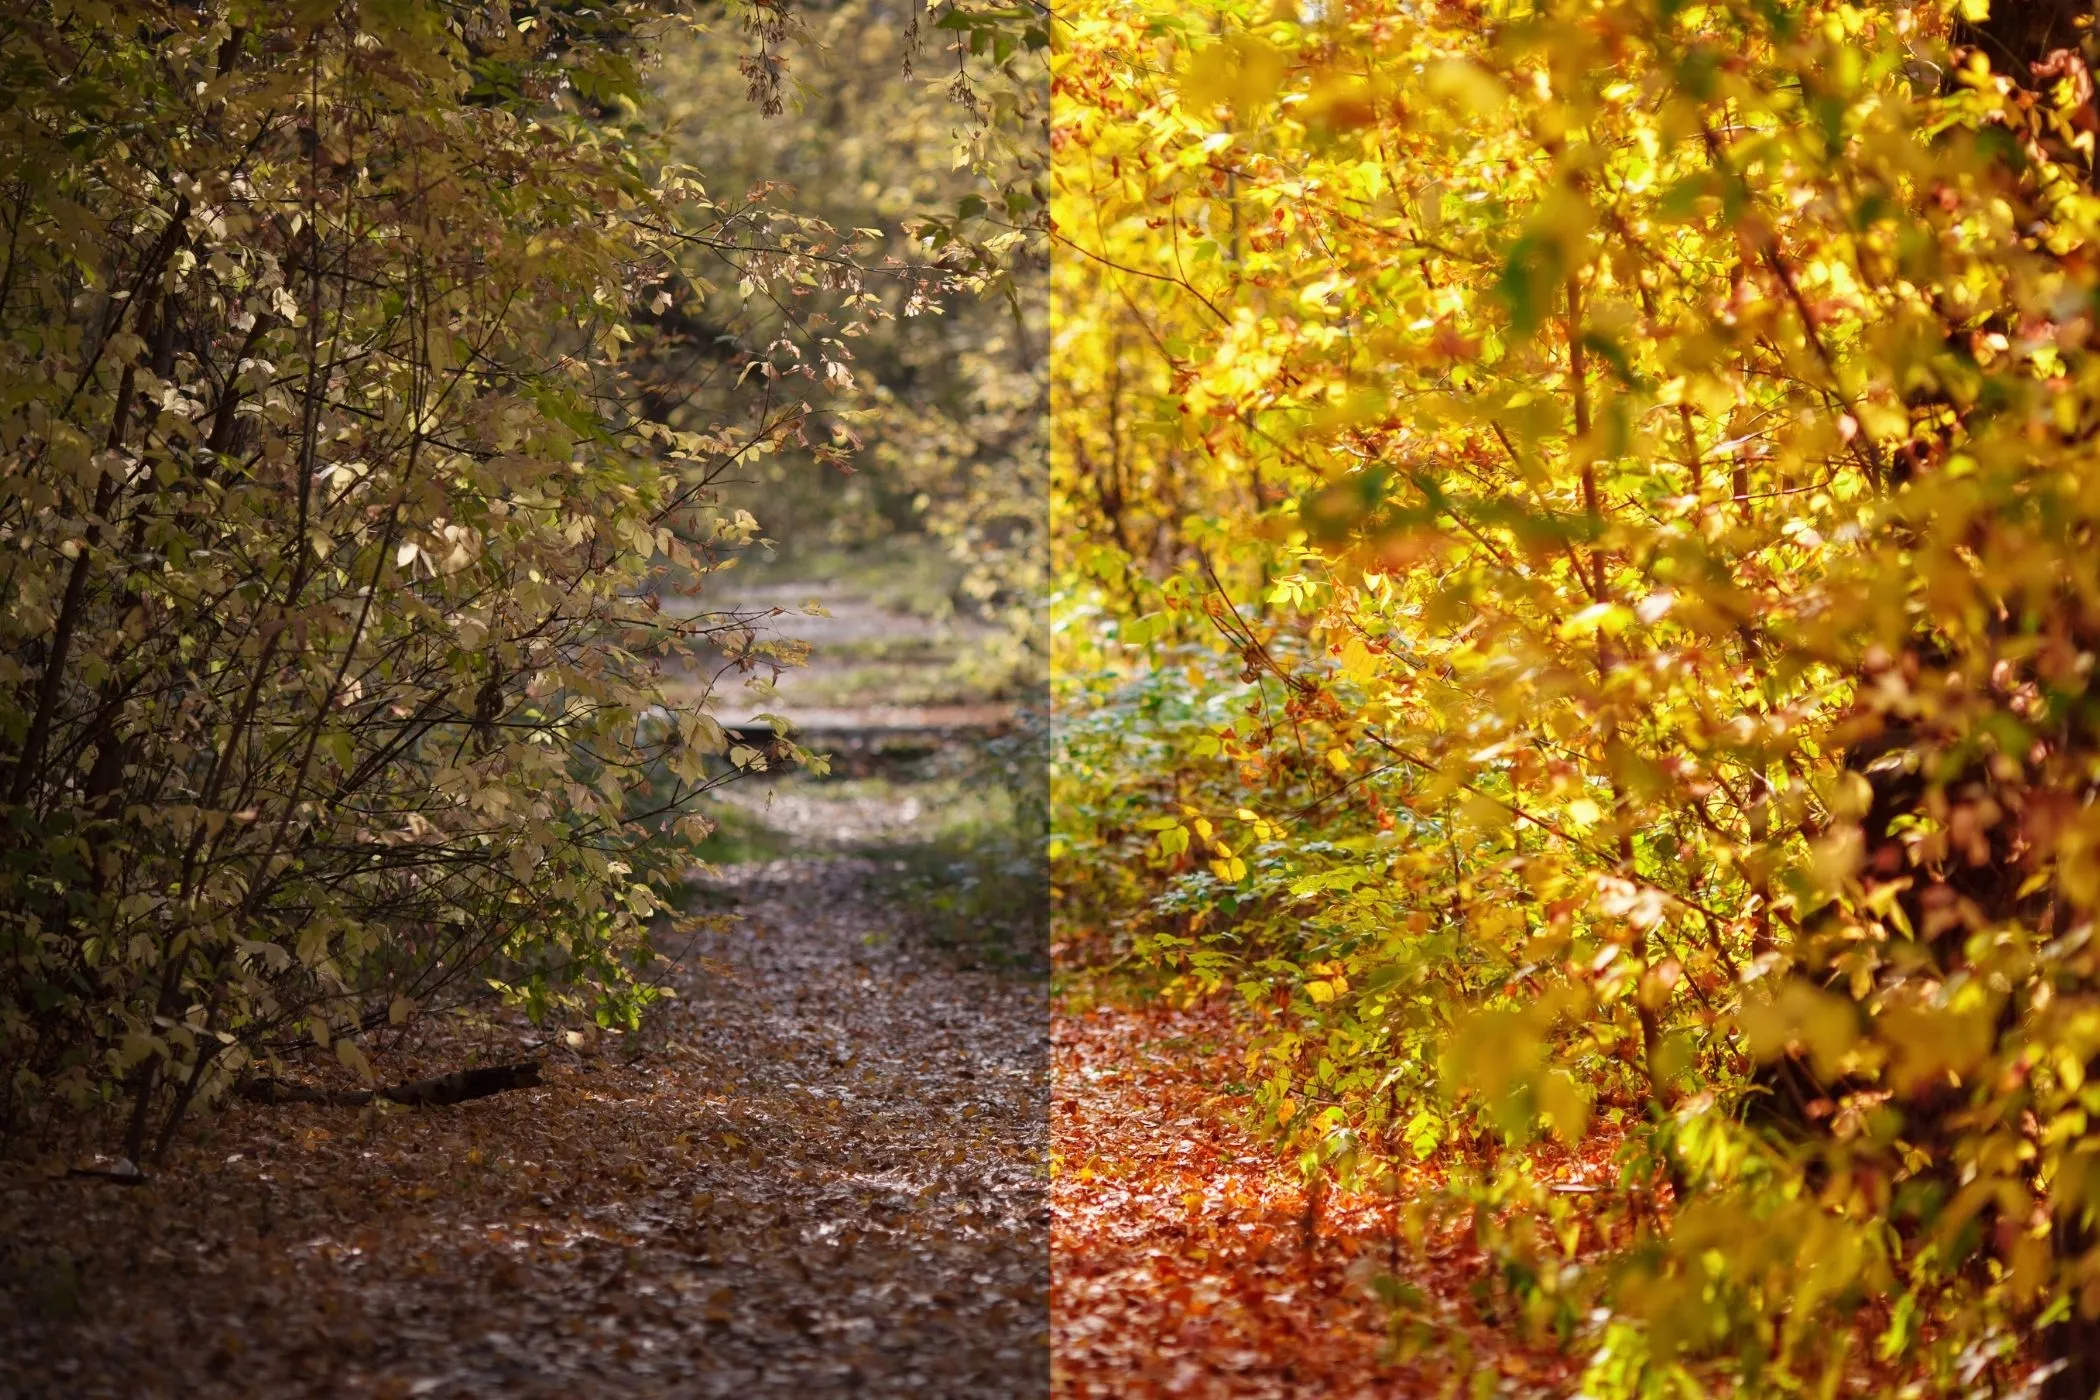
A texture overlay is one of the fastest ways to make an image feel physical: like it was printed, scanned, painted, or photographed on real material.
This tool applies built-in textures (paper, rough paper, canvas, linen, noise) to a single image with professional controls:
- Texture type
- Blend mode (Overlay, Multiply, Screen, Soft/Hard Light, Color Burn)
- Opacity
- Scale (pattern size)
- Texture contrast
- Invert texture
- Surprise me randomization
Everything happens locally—no uploads, no server processing.
Workflow & usage
-
Add an image Drag & drop, click to select, or paste (Ctrl/⌘ + V). EXIF orientation is respected.
-
Choose a texture Pick from: Paper, Rough Paper, Canvas, Linen, Noise.
-
Pick a blend mode Start with Overlay for a balanced look. Switch to Multiply for darker texture or Screen for a lighter wash.
-
Dial it in
- Opacity controls strength
- Scale controls texture size (grain/weave)
- Contrast controls texture punch
- Invert flips the texture before blending
-
Download Export a full-resolution file in the same format as your original.
What is a texture overlay?
A texture overlay is a material pattern (paper grain, canvas weave, film noise) layered on top of an image. The goal is to:
- add tactile detail
- unify elements (make a collage feel cohesive)
- break “too clean” digital gradients
- create print/scan/film aesthetics
Texture overlay vs grain/noise
- Noise/grain is usually random and uniform.
- Textures often contain repeating structure (fibers, weave, paper pores) that reads as a real surface.
Used well, texture overlays make digital images feel like objects.
Where texture overlays are used
Photography & creative editing
- film scan vibes (paper + soft light)
- editorial portrait texture (linen/canvas)
- “printed then rescanned” look
Design & branding
- poster and flyer backgrounds
- vintage packaging mockups
- social thumbnails that feel less sterile
Illustration & digital art
- unify brush strokes and flat shapes
- simulate watercolor paper or canvas
- add subtle texture so gradients don’t look plasticky
Product & UI work
- hero section backgrounds with controlled texture
- subtle noise overlay to reduce banding
- material realism for mockups
Texture types (what each one is good for)
Paper
Balanced paper grain. Great default for most photos and designs.
Rough Paper
More aggressive fibers and pores. Perfect for vintage posters, scans, and “handmade” vibes.
Canvas
Visible weave structure. Best for painterly effects, portraits, and art prints.
Linen
Fine, organized weave. Great for refined editorial, stationery aesthetics, and subtle textile feel.
Noise
Random-ish texture. Best for reducing banding and adding a film-like finish without obvious structure.
Blend modes explained (the part most tools don’t teach)
Blend mode is how your texture interacts with the image under it. Opacity then controls how much of that interaction you see.
Overlay (Standard)
Boosts contrast by darkening darks and lightening lights. This is the most “texture-like” default.
Use for: paper grain, canvas weave, general texture.
Soft Light (Subtle)
Like a gentler overlay. Adds texture without over-contrasting the photo.
Use for: portraits, skin, subtle editorial finish.
Hard Light (Harsh)
Stronger contrast effect. Easy to overdo, but great for stylized poster looks.
Use for: bold graphic edits.
Multiply (Darken)
Makes the texture act like ink/shadow—dark areas of the texture darken the image.
Use for: dirty paper edges, grunge, vintage prints.
Screen (Lighten)
The opposite of multiply—light parts lighten the image.
Use for: washed paper, light haze textures, “sun-bleached” feel.
Color Burn (Vintage)
Aggressive darkening and saturation shift (depending on the underlying colors). Can look very “aged”.
Use for: vintage film/print experiments (best at low opacity).
Controls explained (with practical defaults)
Opacity (0–100%)
How strong the overlay is.
- 10–25%: subtle realism (recommended starting range)
- 25–50%: clearly textured
- 50–80%: stylized / heavy print look
Scale (10–400%)
Changes texture tile size.
- 50–90%: finer grain/weave
- 100%: natural/default
- 120–200%: larger, more visible fibers
- 200–400%: bold pattern (stylized)
Texture Contrast (50–200%)
Edits the texture before blending.
- 80–110%: subtle
- 120–150%: crisp weave and grain
- 150–200%: grunge / poster / heavy texture
Invert Texture
Flips the texture colors prior to blending.
Why it matters:
- With Multiply, inverting can switch between “ink in pores” vs “bright fibers” looks.
- With Screen, inverting can create unexpected glow/wash.
Tip: invert is especially powerful when paired with Color Burn or Hard Light at low opacity.
Quick presets (copy these settings)
Subtle editorial paper
- Texture: Paper
- Blend: Soft Light or Overlay
- Opacity: 15–25%
- Scale: 80–120%
- Contrast: 90–110%
- Invert: OFF
Vintage scan / aged print
- Texture: Rough Paper
- Blend: Multiply or Color Burn
- Opacity: 20–40%
- Scale: 100–160%
- Contrast: 110–150%
- Invert: try ON
Canvas art print
- Texture: Canvas
- Blend: Overlay
- Opacity: 20–45%
- Scale: 90–140%
- Contrast: 110–140%
Clean banding killer (for gradients)
- Texture: Noise
- Blend: Soft Light
- Opacity: 5–15%
- Scale: 60–120%
- Contrast: 80–110%
Pop / stylized poster
- Texture: Linen or Rough Paper
- Blend: Hard Light
- Opacity: 15–35%
- Scale: 120–220%
- Contrast: 130–180%
- Invert: experiment
Tips for best results
-
Pick blend mode first, then opacity. Blend defines the character; opacity just sets the strength.
-
Use Soft Light for portraits. It keeps skin from getting overly crunchy.
-
Use Noise for gradients and UI backgrounds. A tiny bit of noise reduces banding without obvious texture.
-
Use Contrast to control “texture visibility” instead of cranking opacity. Often a better-looking result.
-
Surprise me → then refine. Random palettes are a great discovery tool.
-
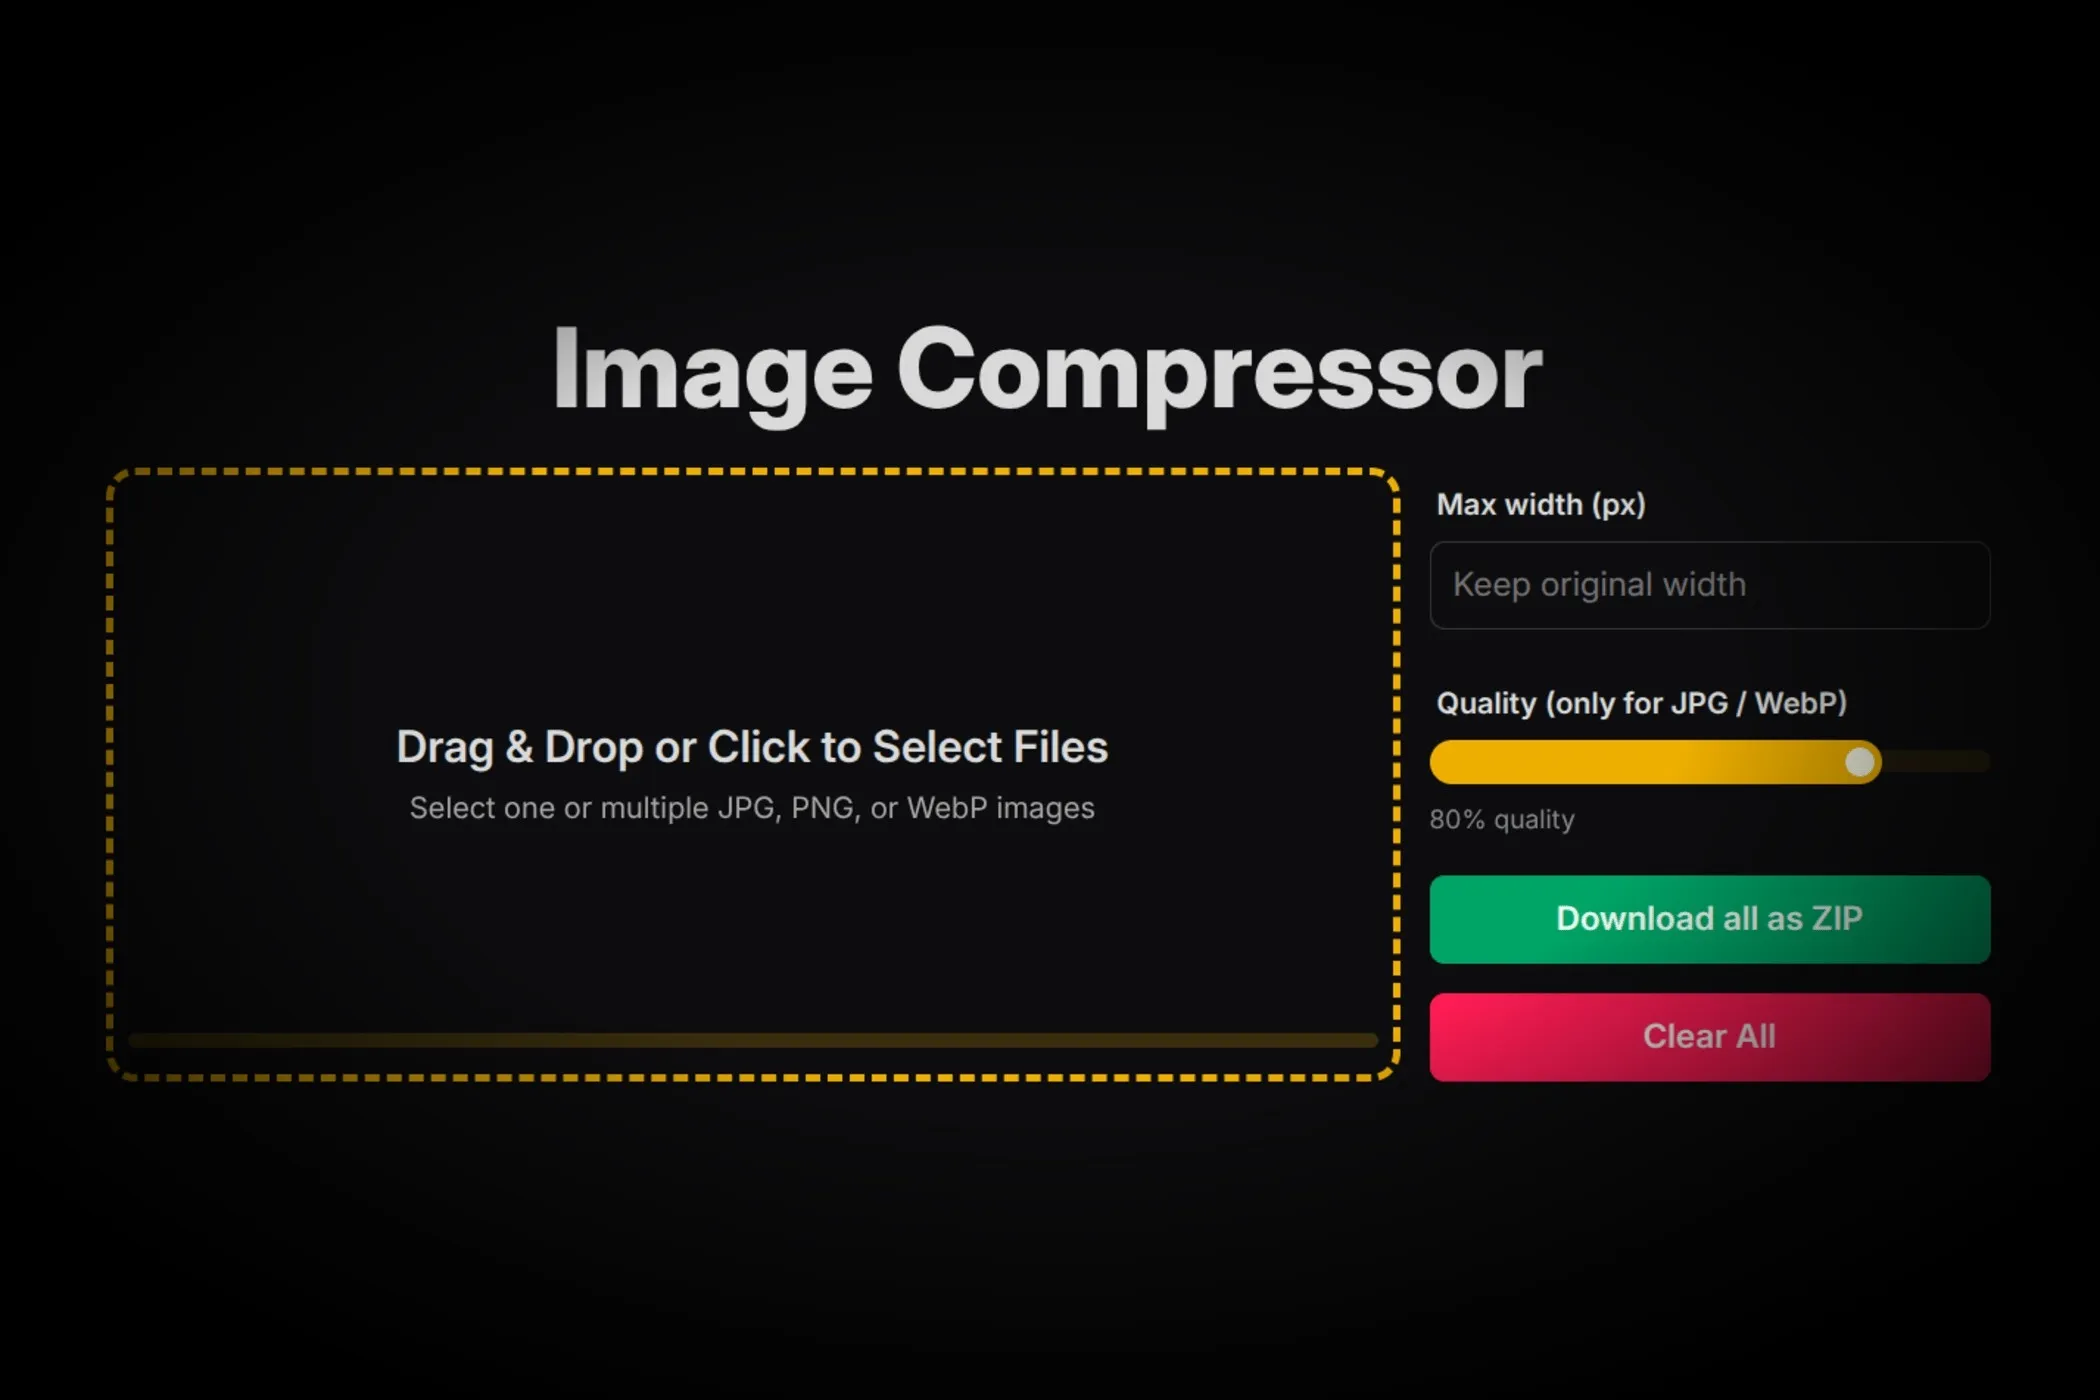
Optimize after export Run results through Image Compressor or Progressive JPEG Converter for production-ready sizes.
How it works (technical, but understandable)
- Your image is decoded locally and drawn to a canvas.
- The chosen texture image is loaded (cached) and transformed:
- Scale resizes the tile
- Invert and Contrast are applied to the texture via canvas filters
- The tool creates a repeating pattern from the processed tile.
- The pattern is painted over the image using:
globalCompositeOperation= your blend modeglobalAlpha= your opacity
- Export happens at full resolution in the original format.
Preview vs final quality
The preview is generated with an internal cap for speed, then scaled to fit the dropzone. Download uses your image’s original resolution.
Quality, privacy, and limitations
Privacy-first
No uploads. Your file stays on your device.
Notes about edges and transparency
If your base image has transparency (PNG/WebP), those pixels remain transparent. Texture is applied where the image exists.
Limitations
This is a texture compositor, not a full photo editor. For advanced looks (curves, selective masking, dodge/burn), apply texture here, then finish in an editor.
Troubleshooting
-
Texture is too strong Reduce Opacity first. Then reduce Contrast.
-
Texture looks too repetitive Increase Scale (bigger tile) or switch to Noise.
-
Image got too dark Avoid Multiply/Color Burn or use lower opacity.
-
Portrait skin looks harsh Use Soft Light and keep opacity under ~25%.
-
I want texture but not color shift Prefer Overlay/Soft Light over Color Burn.
Glossary
- Texture overlay: a material pattern layered over an image.
- Blend mode: math that defines how layers combine (darken/lighten/contrast).
- Opacity: how strong the top layer is.
- Tiling / pattern: repeating a small texture tile to fill the canvas.
- Contrast: increases difference between texture light and dark regions.