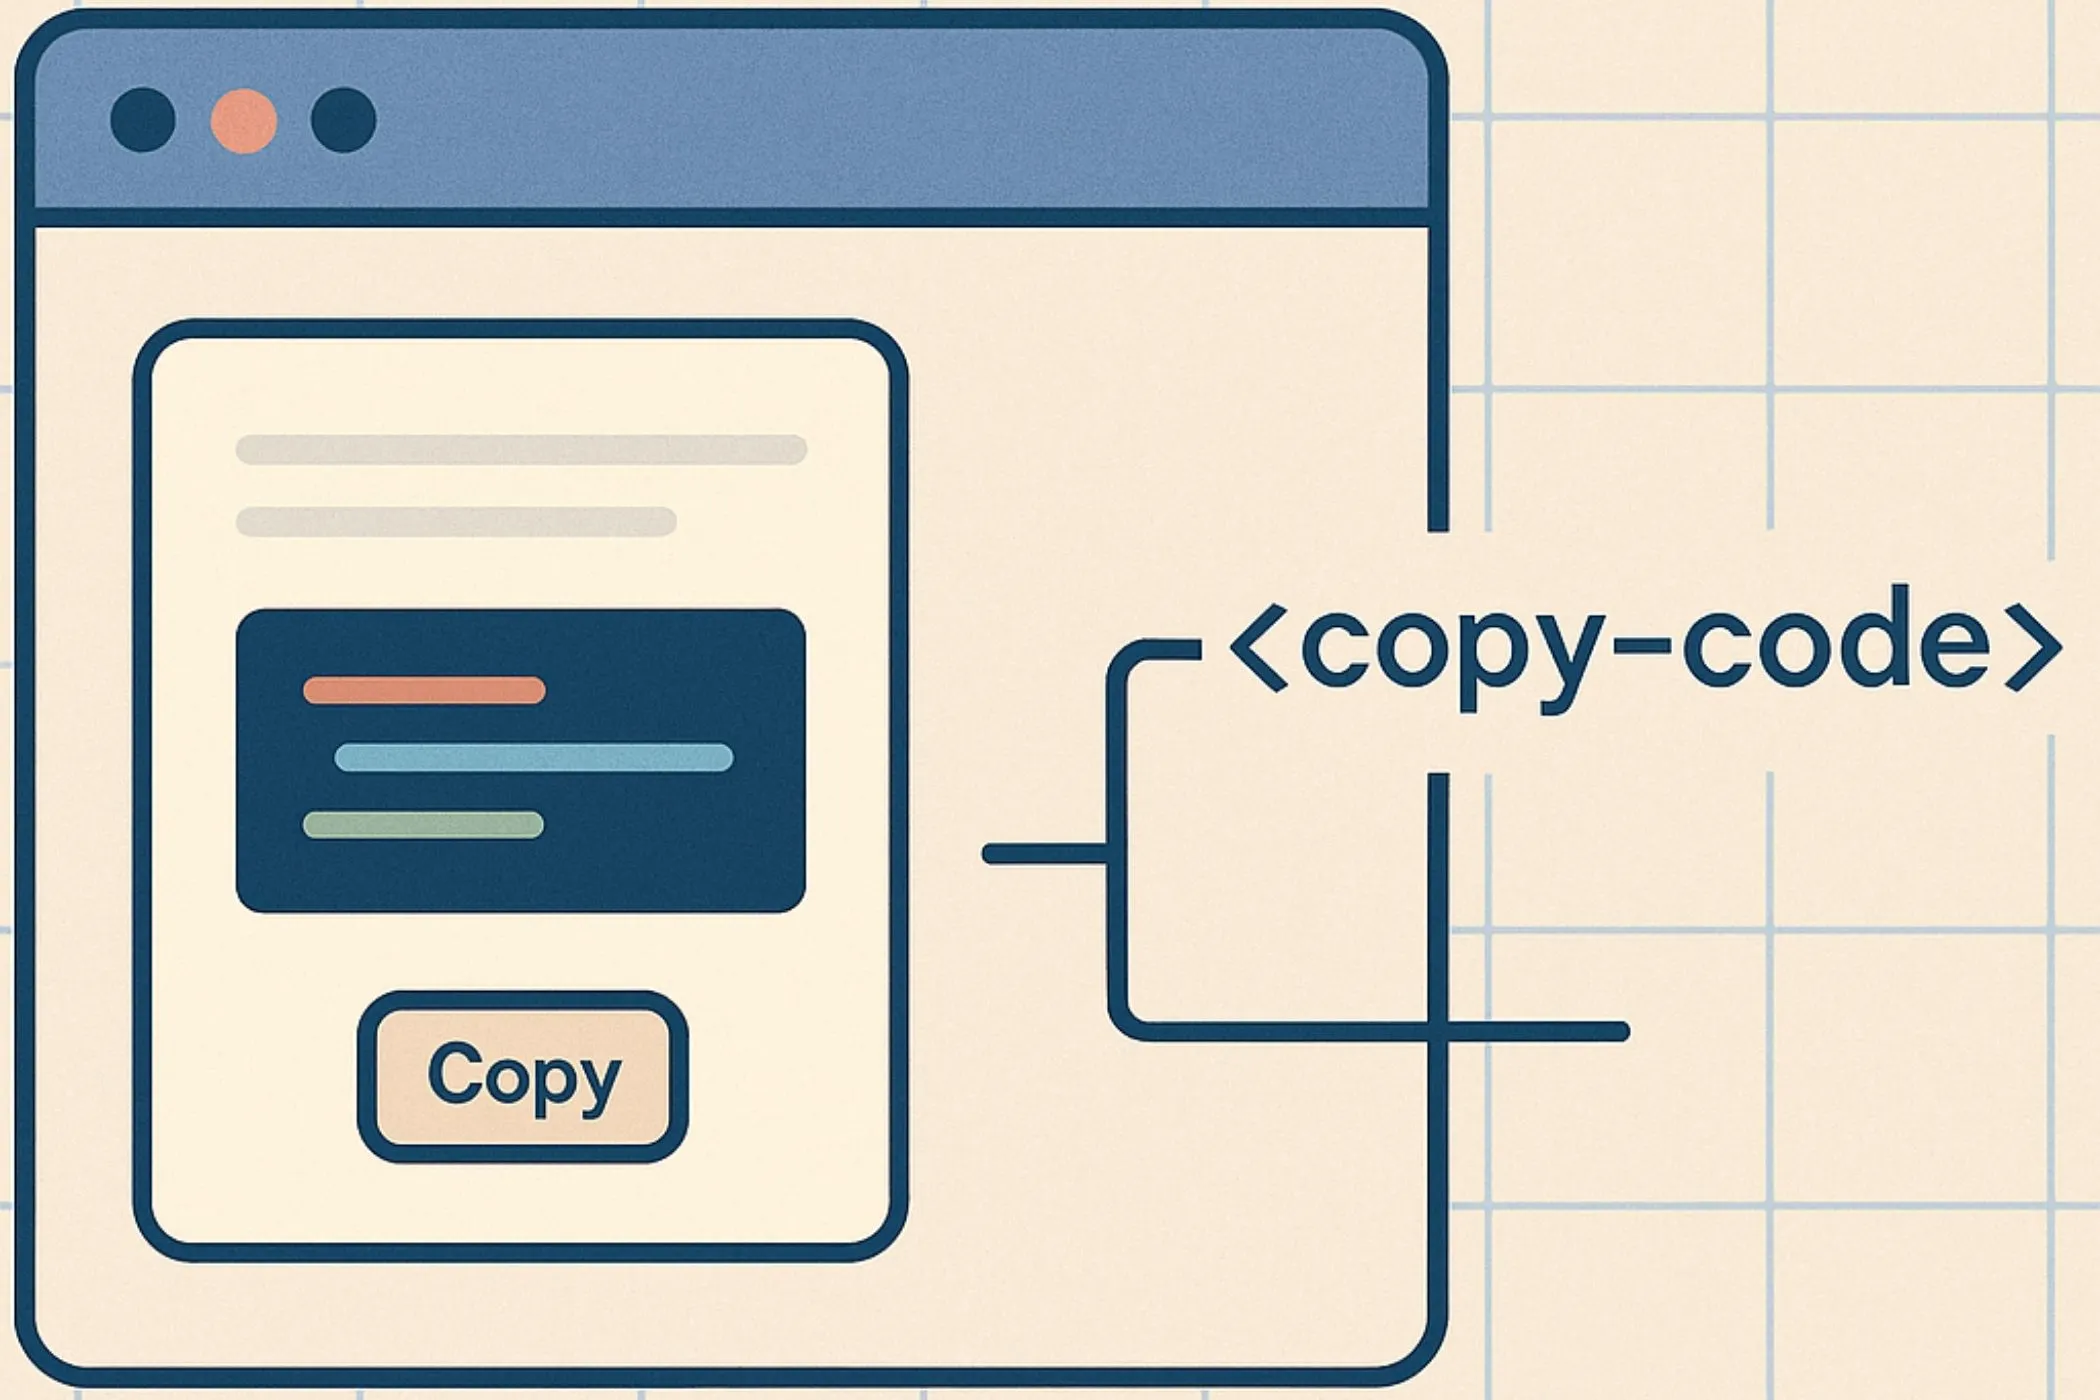
Posterize your image (bold color bands) — private, in-browser
Posterization simplifies an image by reducing continuous tones into clean, stepped color bands. It’s a classic look for:
- posters and flyers
- comic / graphic styles
- stylized portraits
- thumbnail readability
- reducing color complexity for design
This tool applies a high-quality posterize effect to a single JPEG/PNG/WebP locally on your device. You control the character of the result with five key levers:
- Levels (how many bands)
- Simplification (pre-blur to clean noise)
- Gamma Shift (move bands toward shadows/highlights)
- Luminance Only (posterize brightness but preserve color feel)
- Strength (mix with original)
Workflow & usage
-
Add an image Drag & drop, click to select, or paste (Ctrl/⌘ + V). EXIF orientation is respected.
-
Set Levels Start with 4–8 for a classic poster look. Go lower for bold blocks; higher for smoother shading.
-
Add Simplification if needed If your image is noisy or detailed, add a small blur (1–3px) to avoid speckled bands.
-
Use Gamma Shift to steer the look Move banding emphasis into shadows or highlights without changing levels.
-
Try Luminance Only for photos It often keeps colors more consistent and avoids weird channel stepping.
-
Dial Strength Use strength as your final “opacity” knob.
-
Download Export at full resolution in the original format.
What is posterization?
In a normal photo, each channel (R, G, B) has 256 possible values (0–255). Posterization reduces that to a smaller number of steps—like 6, 8, or 12.
Instead of smooth gradients, you get intentional bands.
Posterize vs “reduce colors”
Posterize is a specific kind of color reduction: it quantizes brightness values into evenly spaced steps. “Reduce colors” might use palette-based quantization (like GIF palette selection). Posterize tends to look more graphic and banded.
Why posterize can look messy
Noise and tiny textures get “snapped” to different bands, creating speckles.
That’s why Simplification (pre-blur) exists.
Where posterization is used
Graphic design
- poster backgrounds
- album covers
- editorial hero images
Social / thumbnails
- simplify images so text overlays are readable
- create bold, consistent styles across posts
Illustration & comic looks
- strong banding in shadows/highlights
- combine with halftone or texture overlays
Motion design / video stills
- stylized frames for promos
- high-impact color treatment
UI / product visuals
- simplified product shots
- abstract, consistent backgrounds
Controls explained (the important part)
1. Levels (quantization)
Levels define how many steps exist from black to white.
- 2–3: extreme, almost stencil-like
- 4–6: classic poster/comic
- 7–12: stylized but still photographic
- 12–24: subtle banding
- 24–64: very subtle, mostly used to reduce micro-gradients
Tip: if you want a bold look, lower levels first before increasing gamma or blur.
2. Simplification (pre-blur)
This is a blur applied before posterizing.
What it does:
- smooths small noise
- merges tiny textures into cleaner regions
- reduces “salt-and-pepper” banding
Good ranges:
- clean photos: 0–1px
- phone photos/noise: 1–3px
- heavy stylization: 3–6px
Tip: A little blur goes a long way—over-blur can make the result look plastic.
3. Gamma Shift (band steering)
Gamma changes how values are distributed before quantization.
- < 1.0× (e.g., 0.7–0.95): pushes detail toward shadows
- 1.0×: neutral
- > 1.0× (e.g., 1.05–1.4): pushes detail toward highlights
Why it matters:
- You can make shadows chunkier or highlights chunkier without changing levels.
Practical rule:
- portraits: try 0.85–1.1
- bright scenes: try 1.05–1.25
- moody scenes: try 0.75–0.95
4. Luminance Only (posterize brightness)
Standard posterize quantizes R, G, B separately. That can cause:
- strange hue shifts
- color banding that feels “digital”
Luminance Only posterizes brightness and then scales RGB to match the new brightness, preserving hue/saturation more naturally.
Use it for:
- photos
- skin tones
- scenes with smooth gradients
Turn it off for:
- graphic assets
- cartoons/illustrations
- when you want color channel stepping
5. Strength (mix)
Strength blends posterized output with the original.
- 100%: full effect
- 70–90%: strong but controlled
- 40–70%: subtle stylization
Strength is your final dial—treat it like “opacity for the whole look.”
Quick presets (copy these settings)
Classic poster portrait
- Levels: 6
- Blur: 1–2px
- Gamma: 0.9–1.05×
- Luminance Only: ON
- Strength: 100%
Bold comic blocks
- Levels: 4
- Blur: 2–4px
- Gamma: 0.85×
- Luminance Only: OFF
- Strength: 100%
Clean thumbnail simplifier
- Levels: 6–10
- Blur: 1–3px
- Gamma: 1.05–1.25×
- Luminance Only: ON
- Strength: 70–90%
Subtle banding / modern stylize
- Levels: 12–20
- Blur: 0–1px
- Gamma: 1.0×
- Luminance Only: ON
- Strength: 40–70%
Vintage-ish base (pair with texture)
- Levels: 6–10
- Blur: 1–2px
- Gamma: 0.85–0.95×
- Luminance Only: ON
- Strength: 80–100%
Tips for best results
-
Noise is the enemy of clean posterization. If it looks speckled, increase simplification blur slightly.
-
Try Luminance Only first for photos. It usually looks more natural.
-
Use gamma to steer the bands. Levels change “how many.” Gamma changes “where.”
-
Finish with texture or halftone for print vibes. Posterize + texture overlay is a classic combo.
-
Optimize after export Run results through Image Compressor or Progressive JPEG Converter for production-ready sizes.
How it works (technical, readable)
This tool posterizes using a fast LUT-based pipeline:
-
Optional pre-blur A canvas blur filter smooths tiny detail so bands become cleaner.
-
Build a lookup table (LUT) For each value 0–255:
- apply gamma
- quantize to the nearest of N levels
- apply inverse gamma
-
Apply to pixels
- Standard mode: apply LUT to each RGB channel
- Luminance mode: quantize luminance, then scale RGB by a ratio to preserve color feel
-
Blend by strength The final result is mixed back with the original.
Preview vs final: preview is processed at a capped resolution for speed; download uses full original resolution.
Posterize theory (why these controls exist)
Levels: the number of steps
Fewer steps = bolder shapes.
Blur: removing pre-quantization noise
Posterize snaps values into buckets. Noise makes neighboring pixels fall into different buckets → speckles.
Gamma: shifting bucket distribution
Gamma is like moving the “weight” of values. It changes which parts of the image get more band detail.
Luminance-only: reduce hue chaos
Quantizing channels independently can create hue jumps. Posterizing brightness instead keeps hues steadier.
Quality, privacy, and limitations
Privacy-first
No uploads. Everything runs locally.
Quality notes
- Full-resolution export
- Transparency preserved
Limitations
Posterization is global. For selective control (posterize background only), you’d need masking in an editor. Use this as a base, then finish elsewhere.
Troubleshooting
-
Looks speckled / noisy Increase blur (1–3px) and try Luminance Only.
-
Colors look weird / shift unexpectedly Turn Luminance Only ON.
-
Too flat / not bold enough Reduce levels.
-
Bands are in the wrong place Adjust gamma (below 1.0 for shadows, above 1.0 for highlights).
-
Effect is too strong Lower strength.
Glossary
- Posterize / posterization: reducing continuous tones into discrete bands.
- Quantization: snapping values into a limited set of steps.
- Levels: how many steps exist.
- Gamma: non-linear shift of brightness distribution.
- Luminance: perceived brightness (weighted RGB).
- LUT: lookup table for fast value mapping.
- Strength: mix amount of effect over original.