Progressive JPEG Compressor in One Sentence
This tool converts PNG, JPG, and WebP images into progressive JPEG files with adjustable quality, optional max-width resizing, and batch ZIP export.
What This Tool Actually Does
This is not just a generic image compressor.
It is a progressive JPEG converter and compressor.
You start with a PNG, JPG, or WebP image, choose your quality and optional resize settings, and the tool outputs a compressed progressive JPG file.
That matters because the output format is always JPEG, and specifically progressive JPEG, not baseline JPEG and not a same-format re-save.
So this tool is especially useful when you want to:
- turn heavy PNG files into lighter JPGs
- convert WebP or JPG images into progressive JPEG output
- reduce dimensions and compress at the same time
- batch-process images for websites, blogs, landing pages, or content uploads
- standardize a folder of mixed images into one lighter delivery format
What a Progressive JPEG Is
A progressive JPEG is a JPEG that loads in successive passes.
Instead of rendering line by line from top to bottom, it first shows a rough full-image preview and then refines detail as more data loads.
In practice, that can make images feel faster to load because the viewer sees the overall image sooner, especially on slower connections.
Progressive JPEGs are commonly used for:
- websites
- blogs
- editorial images
- article thumbnails
- content-heavy pages
- large image libraries
They are especially useful when you want a traditional JPEG workflow but better perceived loading behavior than older baseline JPG output.
What This Tool Does Well
This tool is built for practical compression and format conversion.
You can:
- upload PNG, JPG, JPEG, and WebP images
- drag and drop files
- paste images from the clipboard
- compress multiple files at once
- set JPEG quality
- set an optional max width to resize large images before compression
- convert everything to progressive JPEG output
- download each file individually
- export the full batch as a ZIP archive
Everything runs locally in your browser, so the workflow is fast and private.
Why Resize Often Matters More Than Quality Alone
A lot of people try to reduce file size only by lowering JPEG quality.
That works, but it is often not the most efficient first move.
If an image is far larger than its actual display size, reducing dimensions can shrink the file much more effectively while still keeping strong visual quality.
That is why this tool includes Max Width.
For example, if an image is 4000px wide but will only display at 1200px, resizing it before compression can often deliver much better size savings than aggressively lowering JPEG quality.
In many real-world workflows, the best results come from combining:
- a sensible max width
- moderate-to-high JPEG quality
- progressive encoding
That usually produces a smaller file without pushing artifacts too far.
Workflow & Usage
1. Add your images
Drag & drop, click to upload, or paste images directly from the clipboard.
Supported input formats include:
- PNG
- JPG / JPEG
- WebP
You can add one image or a whole batch.
2. Set Max Width if needed
Leave Max Width empty to keep the original dimensions.
Enter a width in pixels if you want to shrink oversized images before compression.
This is useful when:
- the source image is much larger than needed
- you are preparing website images
- you want bigger savings without dropping quality too far
- you want more consistent output dimensions across a batch
3. Set Quality
Use the Quality slider to decide how aggressively the progressive JPEG should be compressed.
Higher values preserve more detail. Lower values reduce file size more aggressively.
4. Convert one image or a full batch
Each file card can be converted individually, or you can process the whole batch and then download everything as a ZIP.
This is useful when:
- you want to test settings on one image first
- you need to compress a whole folder of assets
- you want consistent output across many files
5. Download the result
When a file finishes processing, you can download it immediately.
If you are working with multiple files, you can export the full batch together as a ZIP archive.
Understanding the Controls
Max Width (px)
This control resizes the image only if the source is wider than the value you enter.
If the source image is already narrower, it is left alone.
Lower max widths usually create:
- much smaller files
- faster-loading images
- less detail overall
- better efficiency for web delivery
Leaving the field empty means:
- keep the original dimensions
- compress without resizing
Practical examples:
- 800–1200 px → blog content, article images, smaller web usage
- 1200–1600 px → general website visuals, hero images, larger content blocks
- 1600–2400 px → high-resolution web use where you still want compression
If your images are oversized, this is often the most important setting.
Quality (Progressive JPEG)
Quality controls how strongly the output JPEG is compressed.
Lower values usually create:
- smaller files
- more visible artifacts
- softer edges and texture loss
Higher values usually create:
- larger files
- better detail retention
- cleaner gradients and textures
Practical ranges:
- 45–60% → strong compression, useful when file size matters most
- 60–75% → balanced compression for many web images
- 75–85% → good detail retention with solid savings
- 85–100% → high visual quality, but smaller size reduction
For many website images, a quality setting around 70–82% is a strong starting point.
Best Settings
These are solid starting points, not rigid rules.
General Website Images
- Max Width: 1200–1600 px
- Quality: 70–82%
Best for:
- blog images
- content visuals
- article thumbnails
- general page media
Hero Images and Large Content Blocks
- Max Width: 1600–2200 px
- Quality: 72–85%
Best for:
- homepage visuals
- banners
- landing page media
- larger editorial images
Aggressive File Size Reduction
- Max Width: 900–1400 px
- Quality: 55–70%
Best for:
- lightweight web delivery
- large batches
- secondary visuals
- situations where speed matters more than perfect detail
Keep Original Dimensions, Just Compress
- Max Width: empty
- Quality: 68–82%
Best for:
- already well-sized JPGs
- minimal workflow changes
- format standardization without resizing
PNG to JPG for Photographic Images
- Max Width: depends on final use
- Quality: 70–85%
Best for:
- photo-heavy PNGs
- unnecessarily large raster uploads
- content images that do not require transparency
Best Images for This Tool
This tool works best on images that are good candidates for JPEG output.
Especially strong candidates:
Photos
JPEG is made for photographic content, so photos usually compress very well while keeping acceptable quality.
Website content images
Article images, blog visuals, editorial media, and landing-page assets are often ideal candidates for progressive JPEG conversion.
Oversized uploads
When users upload very large images, resizing and compressing to progressive JPG can dramatically improve delivery efficiency.
Mixed asset folders that need a standard output format
If you want to normalize a batch into one common web-friendly format, this workflow is useful.
Less ideal candidates:
- images that need transparency
- logos with hard flat edges
- UI graphics or illustrations where crisp lines matter more than photo-style compression
- screenshots with lots of text
- assets that are already better suited to PNG, SVG, or sometimes WebP
This matters because JPEG is not the right format for every image.
When Progressive JPEG Is a Smart Choice
Progressive JPEG is often a strong choice when:
- the content is photographic
- the image does not need transparency
- you want broad compatibility
- you want smaller files than PNG for photos
- you want the image to appear progressively while loading
It may be a weaker choice when:
- the image contains sharp flat graphics
- transparency is required
- the asset is a logo, icon, or diagram
- you need maximum crispness for text or interface elements
In those cases, other formats may be a better fit.
Perfect For
- progressive jpeg compression
- png to progressive jpg conversion
- webp to progressive jpg conversion
- resize and compress images for websites
- batch image compression
- standardizing mixed images into JPG output
- reducing file size before upload
- optimizing photographic web images
Tips for Better Results
Resize first when the image is oversized
If the image is much larger than its real display size, lowering Max Width is often more effective than aggressively lowering quality.
Use moderate quality for most web images
A setting around 70–82% usually balances size and quality well for general photographic content.
Do not convert everything blindly to JPEG
JPEG is great for photos, but not always ideal for graphics, logos, text-heavy screenshots, or assets that need transparency.
Test one file before batch-exporting everything
If you are working with a large folder, test a representative image first so you can confirm the right settings.
Keep original width when sizing already makes sense
If the source image is already at the correct display size, leave Max Width empty and just compress.
Expect PNG to shrink dramatically only when transparency is unnecessary
A photo saved as PNG is often much larger than it needs to be. Converting it to progressive JPEG can save a lot.
Avoid extreme quality drops unless speed matters most
Very low quality settings can create visible artifacts, especially in faces, gradients, and detailed textures.
Common Problems (Quick Fixes)
“The file is still too large.” Reduce Max Width first, then lower Quality if needed.
“The image looks blurry or blocky.” Raise Quality a little, or keep more original width.
“The output lost transparency.” That is expected. JPEG does not support transparency.
“My logo or graphic looks worse after compression.” That can happen because JPEG is better for photos than for sharp-edged graphics.
“The result is smaller, but not by much.” If the original was already a well-compressed JPEG at similar dimensions, the gains may be limited.
“The converted image is always JPG even when I uploaded PNG.” That is expected. This tool always outputs progressive JPEG.
“I want better quality without a huge file.” Try a moderate Max Width reduction instead of pushing Quality very high.
Batch Compression and ZIP Export
This tool is designed for both single-file and multi-file workflows.
That makes it useful when you need to:
- compress a whole folder of website images
- normalize mixed file types into JPG output
- process blog or content media in batches
- export a clean set of compressed assets in one pass
You can:
- add multiple files
- monitor batch progress
- convert items individually
- re-convert after changing settings
- download all processed files as a ZIP archive
That is especially practical for repetitive publishing workflows.
Clipboard, Drag-and-Drop, and Fast Input
The tool is built for fast input.
You can add images by:
- dragging them in
- clicking the upload area
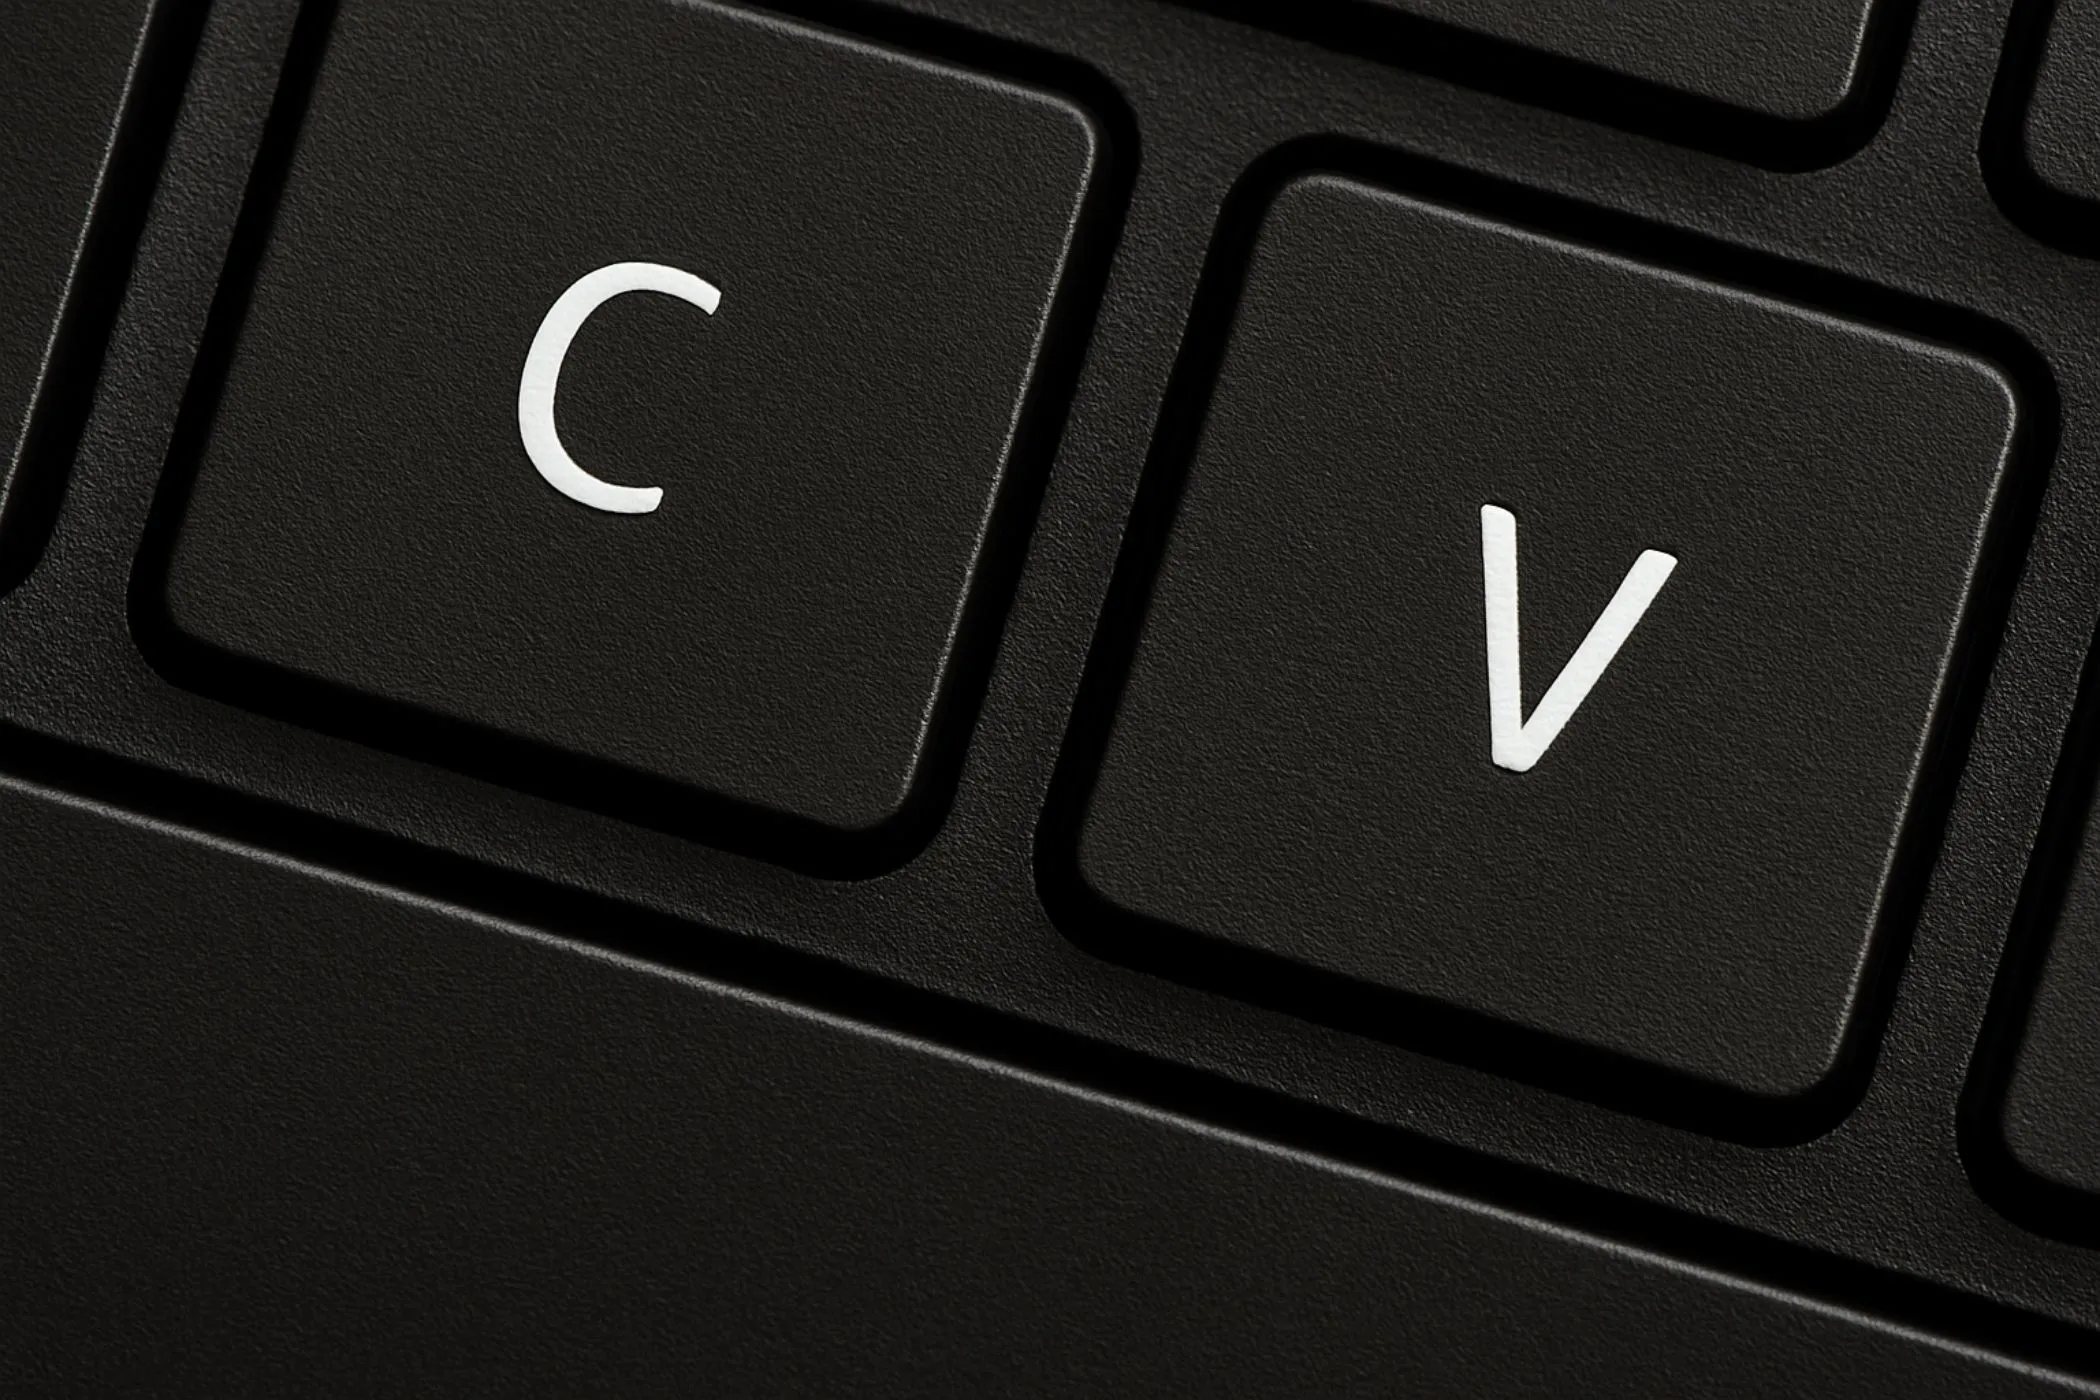
- pasting from the clipboard with Ctrl/⌘ + V
That makes it convenient for:
- screenshots
- copied photos
- CMS preparation
- quick content workflows
- repeated compression tasks
How It Works
This tool processes your images directly in the browser.
- You upload, drag in, or paste one or more source images.
- The tool prepares a conversion queue.
- Each image is decoded and optionally resized if its width exceeds the max-width setting.
- The image is encoded as a progressive JPEG using the selected quality level.
- Converted files are returned to the interface for preview and download.
- You can download files one by one or bundle them all into a ZIP archive.
Because the encoding work runs in workers, the interface stays responsive even during larger batch jobs.
Why This Tool Is Useful Even If You Already Have an Image Editor
A full editor can export JPEGs too, but this tool is useful when you want a fast, repeatable workflow without opening heavier software.
It works well when you need to:
- convert mixed assets quickly
- compress batches of website images
- resize and compress in one pass
- standardize output to progressive JPEG
- handle repetitive publishing work faster
It is not trying to be a full photo editor. It is a focused compression and conversion utility.
That is exactly why it is useful.
Design Notes
The best compression results usually balance four things:
- sensible image dimensions
- enough JPEG quality to avoid obvious artifacts
- format suitability for the image content
- file size appropriate for the delivery context
Too much quality can limit size savings. Too little quality can visibly damage the image. Too much width can keep files unnecessarily heavy. Using JPEG for the wrong kind of image can hurt visual quality even at higher settings.
A reliable starting point for many web photos is:
Set Max Width around 1200–1600 px and Quality around 70–82%.
That range usually produces a good balance of clarity, size reduction, and practical web delivery for photographic content.