Image to SVG Converter in One Sentence
This tool converts PNG, JPG, and WebP images into SVG vector files by tracing the source image into scalable shapes you can download individually or in a ZIP.
What “Image to SVG” Actually Means
An SVG file is a vector graphic.
Unlike PNG or JPG, which store a fixed grid of pixels, SVG stores shapes, paths, and color regions that can scale without becoming blurry.
That is why SVG is useful for:
- logos
- icons
- badges
- illustrations
- decals
- diagrams
- simple artwork
- graphics that need to stay crisp at different sizes
Converting an image to SVG is not the same as simply changing the file extension.
A real image-to-SVG workflow has to trace the original raster image and rebuild it as vector shapes.
That means the tool looks at the source image, simplifies it into color regions and edges, and then generates an SVG made from vector paths.
The result can be excellent for clean artwork and graphic-style images.
For photos, it can still work, but the output is usually more interpretive than exact.
What This Tool Does
This tool lets you convert raster images into SVG directly in the browser.
You can:
- upload PNG, JPG, JPEG, and WebP images
- drag and drop files into the upload area
- paste images directly from the clipboard
- convert multiple images at once
- adjust the number of colors used in the vector trace
- control detail level to simplify or preserve more shape information
- enable small-noise cleanup for cleaner tracing
- convert files one by one or process the full queue
- download each SVG individually
- export all converted SVG files as a ZIP
Everything runs locally in your browser, so the workflow stays quick and private.
Why SVG Conversion Is Useful
Raster formats like PNG, JPG, and WebP are great for many workflows, but they are still pixel-based.
That becomes limiting when you need to:
- enlarge a logo for print
- recolor graphic artwork later
- use the image in design tools that prefer vector assets
- make a badge or icon scale cleanly
- prepare simplified artwork for plotting, cutting, engraving, or decals
- reduce blurry edges on clean graphic assets
An SVG conversion can help when the image is a good candidate for tracing.
The most common successful use cases are:
- logos
- flat graphics
- icons
- sticker designs
- simple illustrations
- symbols and signage
- stylized artwork with clear shapes
Workflow & Usage
1. Add your images
Drag & drop, click to upload, or paste images directly from the clipboard.
Supported formats include:
- PNG
- JPG / JPEG
- WebP
You can add one image or build a batch queue.
2. Set the trace controls
Use the right-side controls to decide how the vectorization behaves.
You can adjust:
- Number of Colors
- Detail Level
- Clean up small noise
These settings affect how simple, detailed, or smooth the final SVG becomes.
3. Convert individual files or the full queue
Each file card can be converted separately, or you can use the full batch workflow and then download everything together as a ZIP.
This is useful when:
- you want to compare settings on one test image first
- you need to vectorize many icons or graphics at once
- you want a quick batch export for a design task
4. Download the result
When a file finishes converting, you can download the SVG immediately.
If you are working with multiple files, you can download everything together as a ZIP archive.
Understanding the Controls
Number of Colors
This setting controls how many color regions the vector trace uses.
Lower values usually create:
- simpler SVG output
- fewer shapes
- cleaner flat graphic results
- smaller and easier-to-edit files
Higher values usually create:
- more faithful color variation
- more regions and paths
- more detail retained from the source image
- heavier, more complex SVG output
Practical ranges:
- 2–4 colors → simple logos, icons, decals, clean flat graphics
- 5–8 colors → balanced tracing for many illustrations and graphic assets
- 8–16 colors → more nuanced artwork and moderate detail
- 16–32 colors → more complex imagery, but often heavier SVG files
If the SVG feels too busy, reduce the number of colors first.
Detail Level
Detail Level controls how closely the trace follows smaller shapes, edges, and visual variation.
Lower values create:
- simpler shapes
- smoother, more graphic output
- fewer tiny path fragments
- better results for bold artwork and icons
Higher values create:
- tighter tracing
- more preserved shape detail
- more complex path structure
- better capture of intricate edges, but often with heavier output
Practical ranges:
- 0.00–0.30 → simple shapes
- 0.35–0.70 → balanced detail
- 0.75–1.00 → high detail, more complex SVG output
If the result is too rough or too simplified, increase detail. If the result is messy or overly complex, lower it.
Clean Up Small Noise
This option helps reduce tiny speckles and visual clutter before tracing.
It is especially useful for:
- compressed JPGs
- screenshots with artifacts
- noisy source images
- graphics with small unwanted dots
- scans that need mild cleanup before tracing
Turning it on usually creates:
- cleaner vector regions
- fewer tiny shapes
- more usable SVG output
Turning it off can preserve more raw detail, but it may also keep unwanted noise.
Best Settings
These are reliable starting points, not rigid rules.
Logo or Icon Vectorization
- Number of Colors: 2–6
- Detail Level: 0.25–0.55
- Clean Up Small Noise: On
Best for:
- logos
- icons
- symbols
- app marks
- simple branding graphics
Flat Illustration or Sticker Artwork
- Number of Colors: 4–10
- Detail Level: 0.40–0.70
- Clean Up Small Noise: On
Best for:
- sticker-style art
- flat characters
- posters
- simple digital artwork
- graphic shapes
Screenshot or UI Graphic Tracing
- Number of Colors: 6–12
- Detail Level: 0.45–0.75
- Clean Up Small Noise: On
Best for:
- interface graphics
- badges
- diagrams
- simple web visuals
- stylized screenshots
Detailed Illustration
- Number of Colors: 8–16
- Detail Level: 0.65–0.90
- Clean Up Small Noise: On or Off depending on source
Best for:
- richer illustrations
- more nuanced digital artwork
- layered color regions
- artwork that needs more internal shape detail
Experimental Photo Trace
- Number of Colors: 12–24
- Detail Level: 0.70–1.00
- Clean Up Small Noise: On
Best for:
- posterized photo effects
- stylized vector portraits
- experimental raster-to-vector art
- situations where exact realism is not required
This can work, but it is important to keep expectations realistic: traced photos often become complex, heavy SVGs.
Best Images for SVG Conversion
This tool usually works best on images with:
- clear edges
- limited color palettes
- strong contrast between shapes
- graphic-style content
- minimal background clutter
Especially strong candidates:
Logos
One of the best use cases for image-to-SVG conversion, especially when the source logo is simple and has clean color blocks.
Icons and symbols
These often trace very well because they rely on bold, simple shapes.
Flat illustrations
Graphic-style artwork with clear edges and limited colors often converts into clean SVG output.
Stickers, badges, and decals
If the artwork already feels graphic and shape-based, SVG tracing can work well.
Diagrams and signage-style graphics
Simple symbols and directional graphics are often strong candidates for vectorization.
Less ideal candidates:
- detailed photographs
- textured natural scenes
- images with heavy compression artifacts
- busy backgrounds
- artwork with many soft gradients
- extremely small or blurry source images
When SVG Conversion Works Best — And When It Doesn’t
This is one of the most important parts of using any image-to-SVG tool well.
SVG conversion works best when the source image is already close to vector logic.
That usually means:
- clear regions
- simplified color groups
- readable edges
- limited visual noise
It works less well when the image depends on:
- photographic realism
- subtle grain
- smooth continuous gradients
- soft focus transitions
- highly detailed natural textures
So while a photo can be converted to SVG, the result is often best understood as a stylized vector interpretation, not a perfect pixel-for-pixel replacement.
That honesty matters because it helps you choose the right source image and the right expectations.
Perfect For
- png to svg conversion
- jpg to svg conversion
- webp to svg conversion
- logo vectorization
- icon tracing
- batch raster-to-svg conversion
- sticker and decal preparation
- simplifying graphic artwork into vector output
Tips for Better Results
Start with clean source images
The cleaner the image, the cleaner the vector result. Sharp edges and limited colors usually trace better than noisy or blurry sources.
Reduce colors before chasing detail
If the SVG feels too busy, lowering the Number of Colors often helps more than lowering detail alone.
Use moderate detail for most graphics
Very high detail can create unnecessarily complex SVG files. A balanced setting is usually better for practical editing and export.
Keep noise cleanup on for messy images
If the source is a screenshot, JPG, or artifact-heavy graphic, cleanup usually improves the final trace.
Test one file before batch-downloading everything
If you are converting many files, it is often smart to test one representative image first and then batch-export after the settings feel right.
Do not expect photo-realistic SVG from complex photos
For photos, SVG tracing is often a stylistic effect rather than a perfect format conversion. That is normal.
Higher detail is not always better
A heavier SVG is not automatically a better SVG. The best result is often the cleanest one that still communicates the image clearly.
Common Problems (Quick Fixes)
“The SVG looks too simplified.” Increase Detail Level or raise the Number of Colors slightly.
“The SVG is too messy or too heavy.” Lower Detail Level first, then reduce the Number of Colors.
“Tiny speckles and odd fragments appear everywhere.” Turn on Clean up small noise and reduce detail slightly.
“The converted photo does not look like the original.” That is common with raster-to-vector tracing. Try more colors and higher detail, but keep in mind that photos usually become stylized rather than perfectly reproduced.
“My logo edges feel rough.” Use fewer colors, keep noise cleanup on, and try a moderate detail setting instead of maximum detail.
“The file size feels larger than expected.” Too many colors and too much detail can generate very complex SVG paths. Simplifying the settings usually helps.
“The result is technically SVG but not easy to edit.” That can happen when the trace creates too many small shapes. Lower complexity until the SVG becomes more practical.
Batch Conversion and ZIP Export
This tool is designed for both single-file and multi-file workflows.
That makes it useful when you need to:
- convert a folder of logos or icons
- prepare multiple design assets for vector use
- compare several traced graphics quickly
- export a batch of SVG files in one pass
You can:
- add multiple files
- monitor queue progress
- convert items individually
- re-convert files after adjusting settings
- download everything as a ZIP archive
That saves time when you are working through many assets instead of only one image.
Clipboard, Drag-and-Drop, and Fast Input
The input flow is designed to stay lightweight.
You can add images by:
- dragging them in
- clicking the upload area
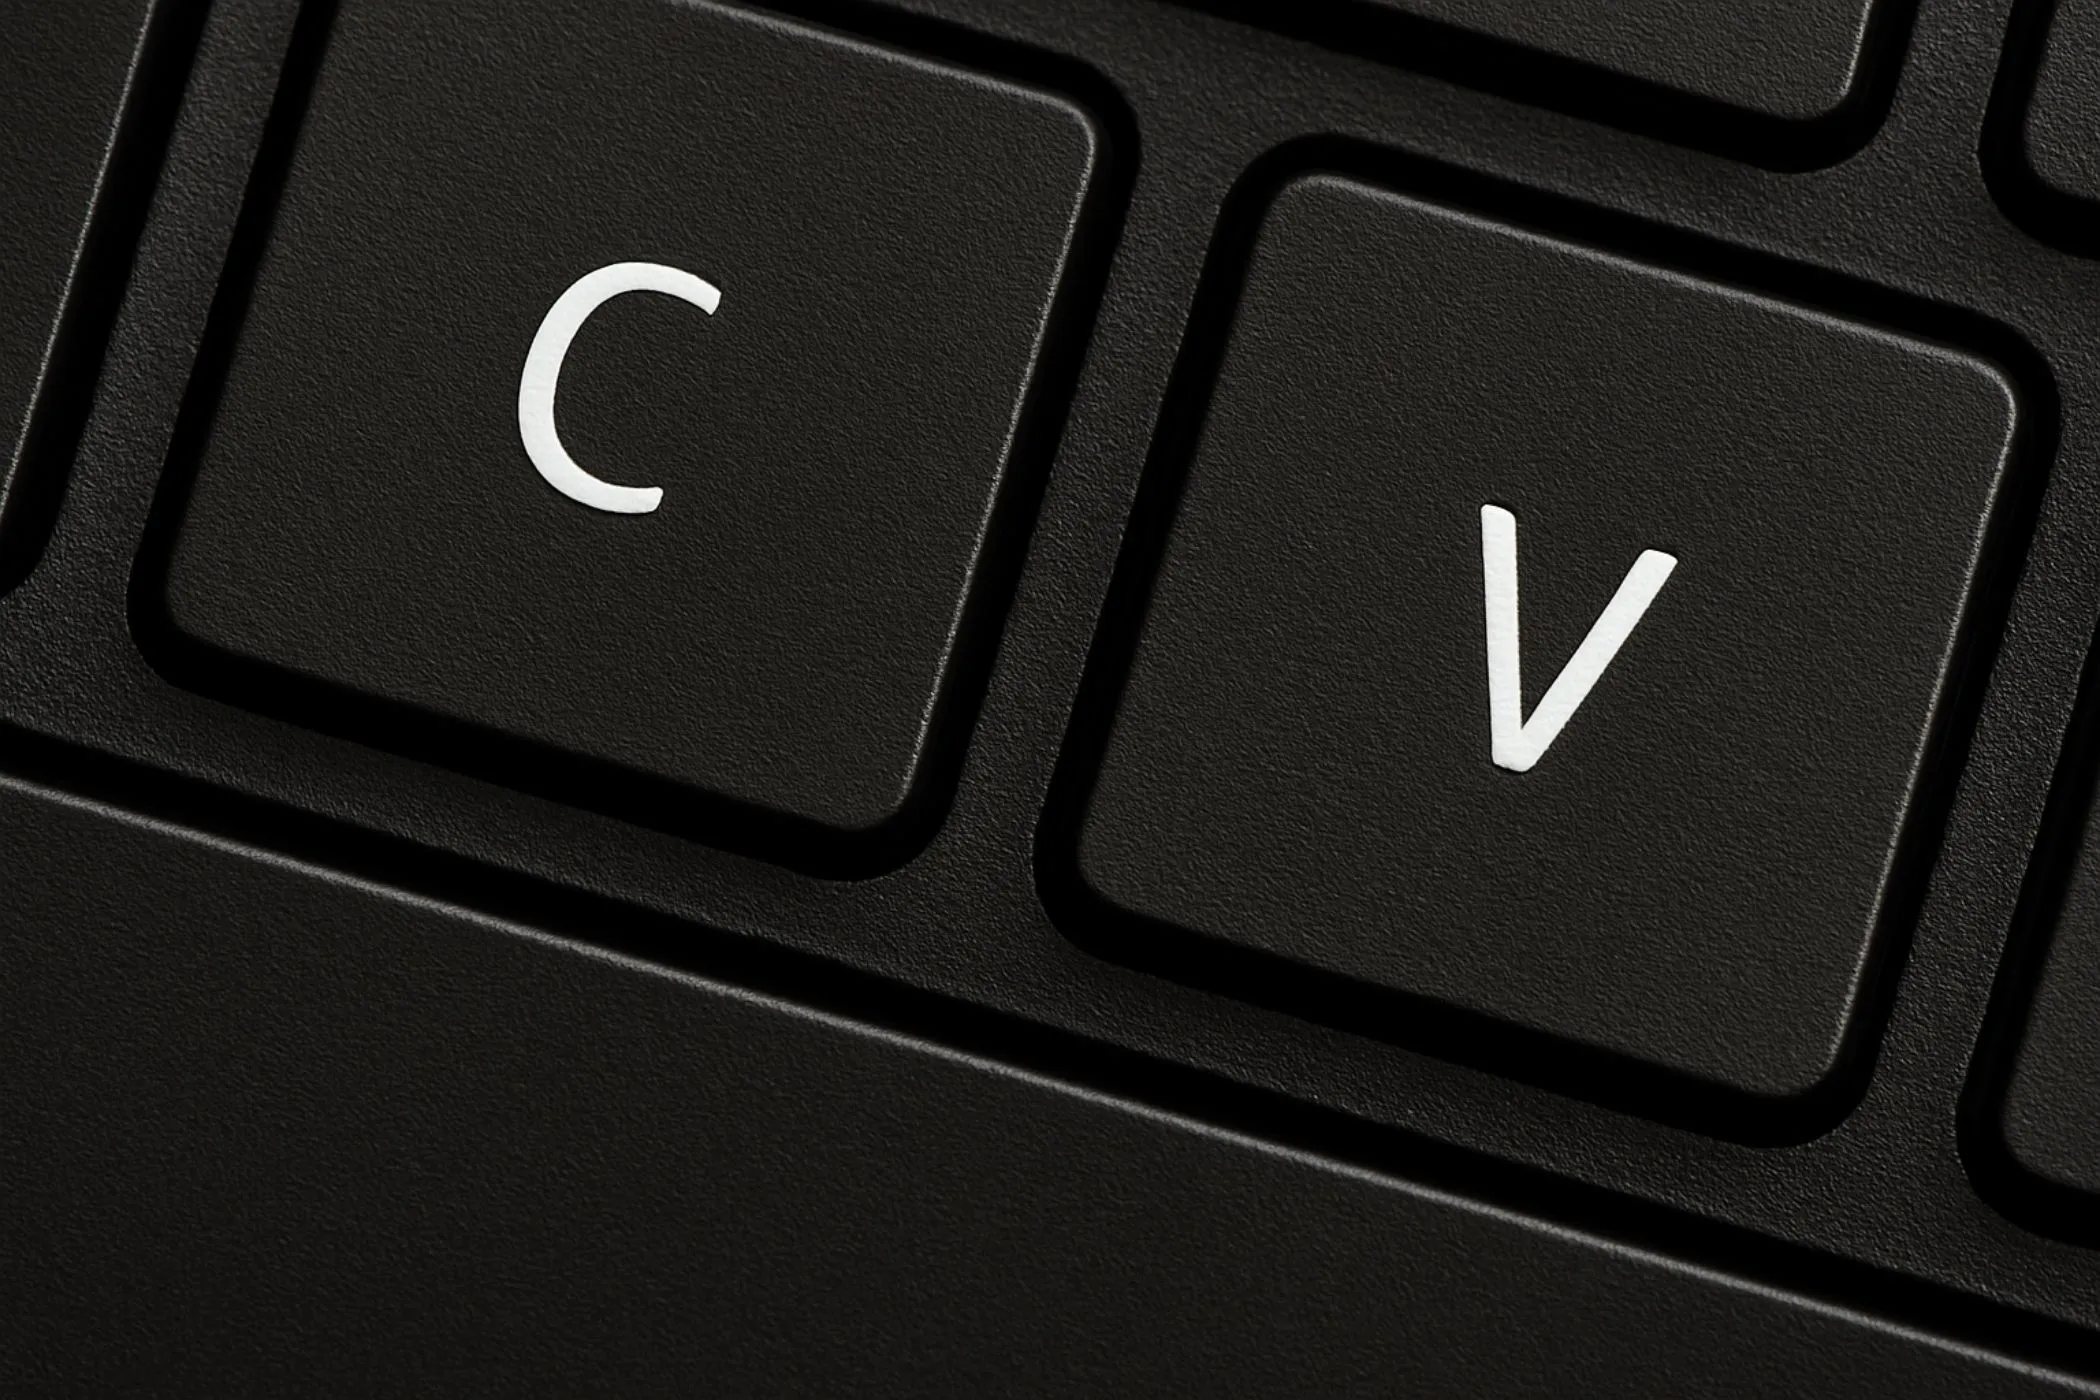
- pasting from the clipboard with Ctrl/⌘ + V
That makes the tool especially convenient for:
- screenshots
- copied design assets
- quick iterative testing
- comparison workflows
How It Works
This tool processes your images directly in the browser.
- You upload, drag in, or paste one or more source images.
- The tool prepares a conversion queue.
- A worker-based tracing process analyzes each image.
- The image is simplified into color regions and traced into vector paths.
- The selected color count, detail level, and cleanup settings shape the result.
- The traced vector is returned as an SVG string.
- You can download each file individually or package them all into a ZIP.
Because the tracing runs in workers, the interface stays responsive even when processing multiple files.
Why This Tool Is Useful Even If You Already Have Design Software
A full design app gives more control, but it also adds more setup and friction.
This tool is useful when you want to:
- quickly test whether an image is a good vector candidate
- batch-convert simple graphics
- generate fast SVG versions of logos or icons
- compare tracing settings without opening a heavier editor
- get a workable vector starting point before refining elsewhere
It is a fast conversion tool, not a replacement for full illustration software.
That distinction matters because it keeps expectations practical and the workflow genuinely useful.
Design Notes
The best SVG conversions usually balance four things:
- clarity of shapes
- reasonable color simplification
- enough detail to preserve identity
- low enough complexity to keep the SVG usable
Too many colors can make the trace noisy. Too much detail can create heavy path output. Too little detail can oversimplify important shapes. Too little cleanup can preserve artifacts you do not want.
A reliable starting point for many graphics is:
Use 4–8 colors, a balanced detail setting around 0.45–0.70, and keep small-noise cleanup on.
That range usually works well for logos, icons, badges, flat illustrations, and many design-oriented raster images.