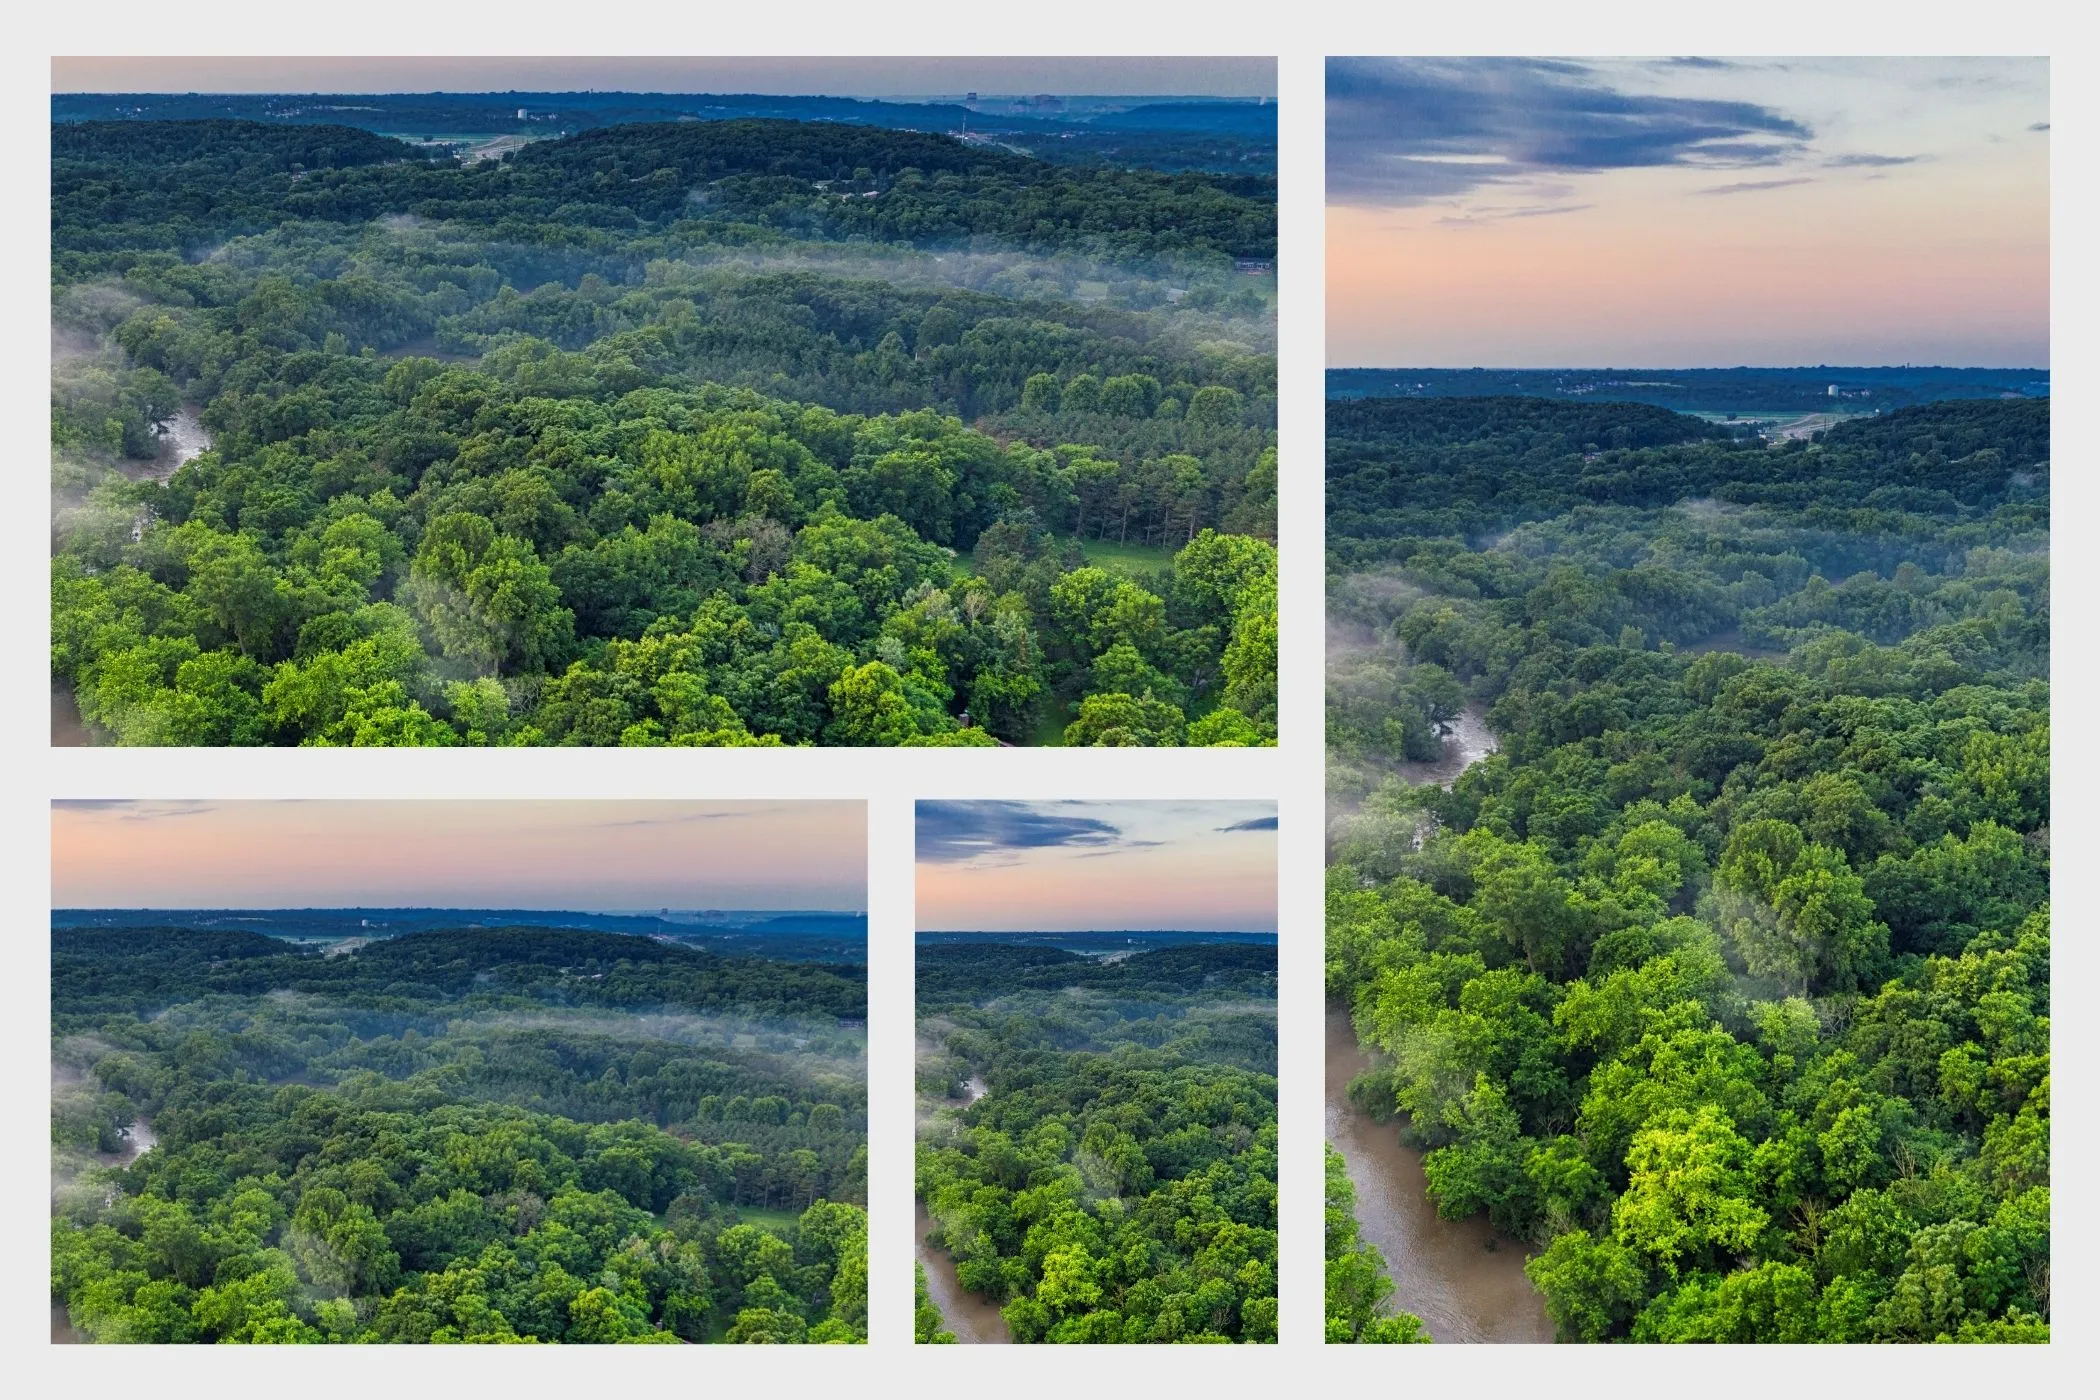
Vignette in One Sentence
A vignette subtly darkens the edges of a photo so the viewer naturally looks toward the center subject — a classic “pro lens” finishing touch for portraits, products, and cinematic frames.
What You Can Do With This Tool
This tool is built for clean, professional vignettes with real control — without opening a desktop editor:
- Pick a vignette color (classic black, warm browns, cool blues, even creative tones)
- Choose a blend mode to control how the vignette interacts with the photo (Multiply, Soft Light, Overlay, etc.)
- Dial in the shape using Size, Feather, and Roundness
- Move the center point interactively (click to set) — perfect when your subject isn’t centered
- Use Surprise me for curated “pro archetypes” (Classic, Cinematic, Vintage, Matte, Editorial, Cyber)
Everything runs client‑side: fast preview, private processing, instant export.
Workflow & Usage
1. Add an image
Drag & drop, paste, or click to select a JPEG / PNG / WebP.
2. Pick Color & Blend
- Color controls the tint of the vignette.
- Blend mode controls how the vignette “mixes” with the image.
If you want a safe default: Black + Multiply.
3. Shape it
- Strength → how intense the vignette is
- Size → how large the clear center area stays
- Feather → how soft the transition is
- Roundness → ellipse vs circle
4. Set the center (optional)
Turn on “Click preview to set center”, then click where your subject is.
This is huge for:
- portraits with the subject off-center
- product photos where the item is placed according to rule-of-thirds
- thumbnails where text needs a clean area
5. Download
Export instantly.
The output keeps the original format and uses a descriptive filename like:
photo-vignette-000000-60.jpg
What Is a Vignette?
A vignette is an effect that reduces brightness near the edges and keeps the center clearer.
It’s used for two reasons:
- Focus: edges darken → subject feels more prominent.
- Mood: a soft vignette can feel cinematic, vintage, or editorial.
In photography, vignetting can be a natural lens characteristic (especially wide apertures and some lenses). In editing, it’s a deliberate stylistic tool.
How This Vignette Works (Simple Explanation)
This tool creates a radial gradient anchored at your chosen center point:
- The center stays clear (transparent gradient)
- The gradient ramps up toward the edges (solid vignette color)
- The ramp is shaped by Size and Feather
- The overall intensity is controlled by Strength
- The result is blended onto your image using the chosen blend mode
Because it’s gradient-based, the effect stays smooth and clean — no banding-y rings or harsh borders.
Controls, Explained Like a Pro
Color
The vignette tint.
- Black is the classic “lens darkening.”
- Warm dark browns feel vintage and film-like.
- Cool dark blues/greens feel modern and cinematic.
- Light colors + Screen can create a “glow edge” reverse vignette.
Blend Mode
Blend mode changes how the vignette interacts with existing tones.
Quick picks:
- Multiply (default) → most natural darkening, preserves detail
- Soft Light → subtle contrast + gentle edge shaping (great for portraits)
- Overlay → stronger contrast, punchier look
- Color Burn → dramatic, intense edges (use with lower strength)
- Hard Light → stylized, high-impact (great for gritty looks)
- Normal → literal overlay tint (simple, can look “flat” if too strong)
- Screen → brightens edges (reverse vignette)
Strength (0–100)
Overall intensity (opacity) of the vignette layer.
- 20–40 → subtle, premium
- 40–70 → noticeable, cinematic
- 70–100 → stylized / high drama
Size (0–100)
How large the clear center area remains.
- Smaller size → darkening starts closer to the subject (more dramatic)
- Larger size → darkening stays near the edges (more subtle)
Feather (0–100)
How soft the transition is.
- High feather (75–100) → “real lens” smoothness
- Medium feather (40–70) → editorial / vintage falloff
- Low feather (0–30) → hard edges, graphic look
Roundness (0–100)
Shape control:
- 0% = ellipse (naturally matches the image aspect ratio)
- 100% = circle (perfectly round vignette)
A small increase in roundness can make wide images feel more balanced, especially for portraits and centered products.
Click to Set Center (toggle)
When enabled, clicking the preview sets the vignette center.
Use it when:
- your subject is not centered
- you want to darken only one corner (place center toward the opposite side)
- you want a clean central area for text overlays
Tip: use Reset Center to snap back to the middle.
“Surprise Me” Archetypes (Curated Looks)
Surprise me doesn’t just randomize — it picks from “pro archetypes” designed to look intentional.
Here’s what each vibe usually implies:
- Classic → black/dark tones + Multiply, balanced falloff
- Cinematic → cool/nature tones + Multiply/Color Burn, softer edges, stronger mood
- Vintage → warm browns + Color Burn/Hard Light, slightly shaped falloff
- Matte → light tints + Normal/Screen, flatter feel (great for stylized editorial)
- Editorial → grays + Overlay/Soft Light, subtle contrast shaping
- Cyber → deep purples/darks + Hard Light, bold and graphic
If you like a result, keep clicking Surprise Me until you find a “house style” that fits your brand — then use those ranges consistently.
Vignette Recipes (Copy These)
These are solid starting points that look good on most images.
Subtle Pro Lens (portrait / product)
- Blend: Multiply
- Color: #000000
- Strength: 25–40
- Size: 55–75
- Feather: 80–100
- Roundness: 0–25
Cinematic Frame (moody)
- Blend: Soft Light or Multiply
- Color: #0d1b2a (deep cool) or #0f2215 (deep green)
- Strength: 35–60
- Size: 35–55
- Feather: 85–100
- Roundness: 0–30
Vintage Film Edge (warm)
- Blend: Color Burn (lower strength) or Multiply
- Color: #3e2723 or #332211
- Strength: 25–50
- Size: 40–65
- Feather: 40–80
- Roundness: 30–60
Editorial Contrast Vignette
- Blend: Overlay or Soft Light
- Color: #4a4a4a (neutral gray)
- Strength: 25–45
- Size: 20–45
- Feather: 100
- Roundness: 0–20
Reverse Vignette (bright edges)
- Blend: Screen
- Color: #ffffff or #f5f5f5
- Strength: 20–45
- Size: 50–80
- Feather: 70–100
- Roundness: 0–40
Tips for Best Results
Keep it subtle first
Most “professional” vignettes are barely noticeable. Start with:
- Strength 25–40
- Feather 80–100
- Size 55–75
Then adjust center if needed.
Use center placement intentionally
If the subject is on the left, move the center left. This keeps your subject clean while letting the vignette quietly reduce attention on empty space.
Multiply is safest
If you’re unsure, Multiply will usually look the most natural and least “filter-y.”
Soft Light for portraits
Soft Light tends to keep skin and midtones feeling smoother while still shaping the frame.
Combine with other effects
Vignette is a “finisher.” It pairs well with:
- Blur (subtle depth) — vignette helps the subject pop
- Film Grain (texture) — vignette + grain feels cinematic
- Duotone (branding) — vignette adds depth to flat graphics
Optimize after export
Run results through Image Compressor or Progressive JPEG Converter for production-ready sizes.
Common Problems (Quick Fixes)
It looks too obvious / amateur.
- Lower Strength (try 25–40)
- Increase Feather (80–100)
- Increase Size (55–75)
The edges look muddy.
- Switch blend from Color Burn / Hard Light to Multiply or Soft Light
- Use a darker but cleaner color (pure black or deep neutral)
My subject isn’t centered and the vignette is wrong.
- Enable click-to-set and click your subject
I want a graphic circle vignette.
- Roundness → 100
- Feather → 0–30
I want a subtle corner darkening only.
- Set center closer to the opposite corner
- Lower size (20–40) and keep feather high
Perfect For
- Portraits (subtle edge shaping)
- Product photos (clean center emphasis)
- Cinematic stills (mood + framing)
- Blog headers (adds depth behind text overlays)
- Thumbnails (guide attention to a focal zone)
- Social content sets (consistent finishing style)
Privacy & Performance Notes
- Processing happens in your browser — nothing is uploaded.
- Preview is optimized for speed while export keeps full resolution.
- Works great even on large images because it uses a lightweight gradient overlay.
Design Notes (If You Care About the Details)
A good vignette is all about falloff:
- Size sets how much of the center stays clean.
- Feather sets how gradual the falloff is.
- Blend mode decides whether the vignette feels like light physics (Multiply) or like an editorial grade (Soft Light / Overlay).
If you want a single “always looks good” setup:
Multiply + Black + Strength 30–45 + Size 60–70 + Feather 90–100
Then move the center to your subject and you’re basically done.
